Sending Love - 3D Mailbox Project
Sending Love - 3D Mailboxes
I have written the instructions down here as best I can, however this is more of an advanced 3D project, so it’s hard to convey some steps in words, so I highly recommend watching the YouTube video via the link below. Even though this lady is not using Stampin’ Up! Products like I have in my example, she gives excellent very detailed instructions.
YouTube Video: https://youtu.be/75SsPU5ryUM?si=h-6n_oKd5NlgHgKj
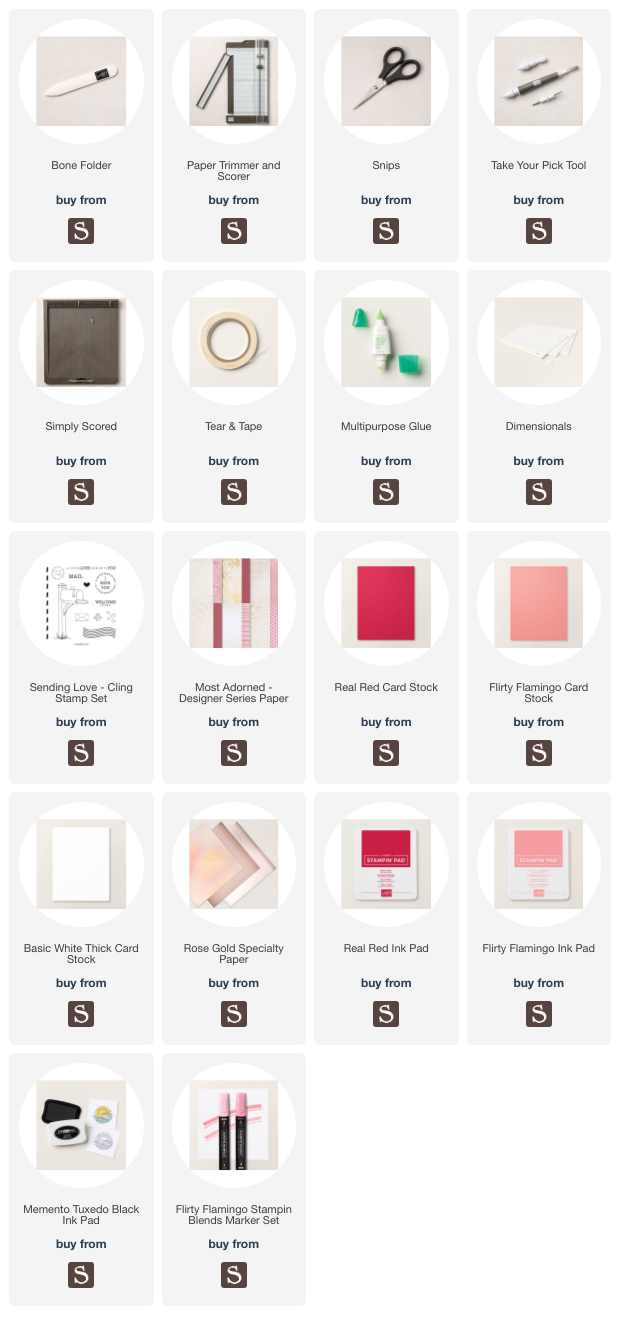
List of Products Used: https://ldli.co/e/zrlp2q1
Instructions:
To Make main body of the mailbox:
1. Take a pink or red themed piece of 12 x 12 DSP paper from the Most Adorned pack, cut on one side to 4 ½ inches. Now your piece should measure 12 x 4 ½ inches.
2. On short side, or short side facing up, score at ½” and at 4”
3. Turn to long side, score at ½ “, and at 3”
4. Then score, but only to the horizontal score line, not all the way through, at 5 ½ and 9 ½ , and then turn to the other long side and do the same but you will score at 2 ½ and 6 ½
5. At the 3” score line and Score a 2” x 2” square, it will be in the middle of the ½ score lines on the side, approximately ½” in from those, best to see picture.
6. Cut out the 2” square using a paper trimmer.
7. Fold and burnish all of your score lines that go through the piece of paper
8. Starting from the cut out square to the end of the long side, curl your paper with your fingers so that the arch is easier to form.
9. Cut the mini score lines on the side, and then cut teeth marks on the longest tabs on the sides, see picture. The teeth will allow the paper to curve much more easily.
To Make the base:
1. Cut a piece of thick basic white card stock down to 4 ½ x 5 ½ inches
2. Score on all four sides at 1”
3. Score notches, these will be ½ “ in, and ½” from each of the four corners, see picture
.
4. Fold and burnish all score lines
5. Cut out notches and glue them down
6. Fold and glue the corners together, note you will need to trim one side in because it will stick out to much.
To make Drawer box:
1. Cut a piece of thick basic white card stock down to 8 ½ x 4 “
2. Score on long side at 2” , 4”, 6” and 8”
3. Turn to short side and score at 2”
4. Fold and burnish all of your score lines
5. With long side facing up, cut up to the horizontal score line, see picture of template.
6. Cut also on the same side the bottom tab off, and notch the top tab, see picture.


