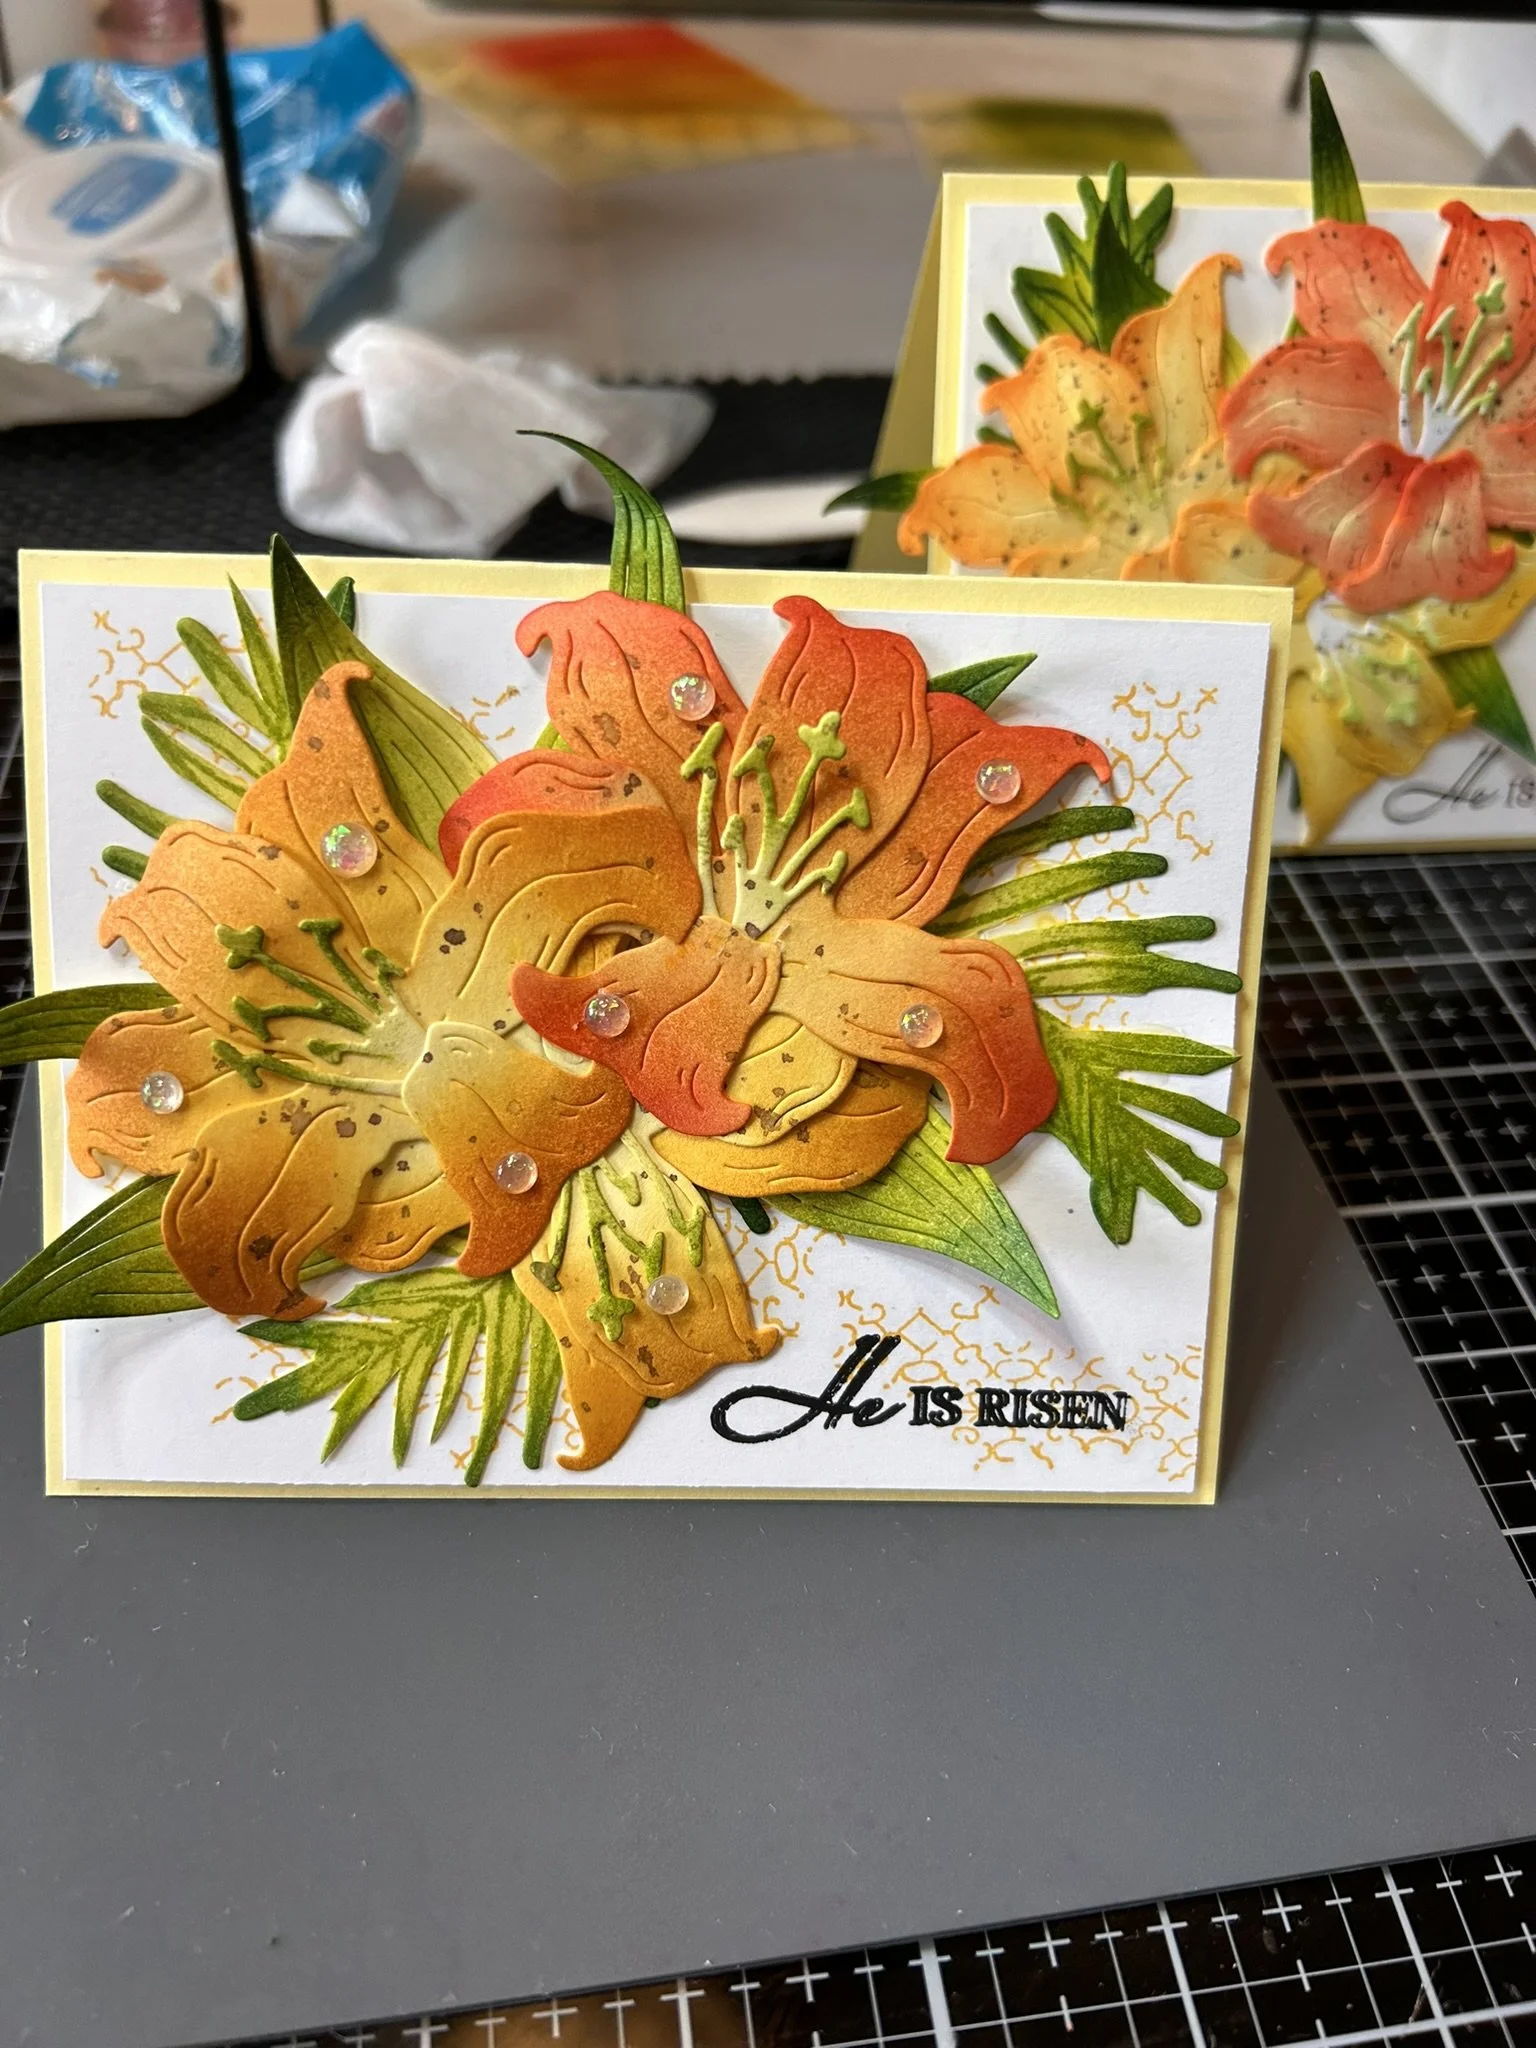
Easter Lilies Project
List of supplies used for yellow card: https://ldli.co/e/gqx4klj
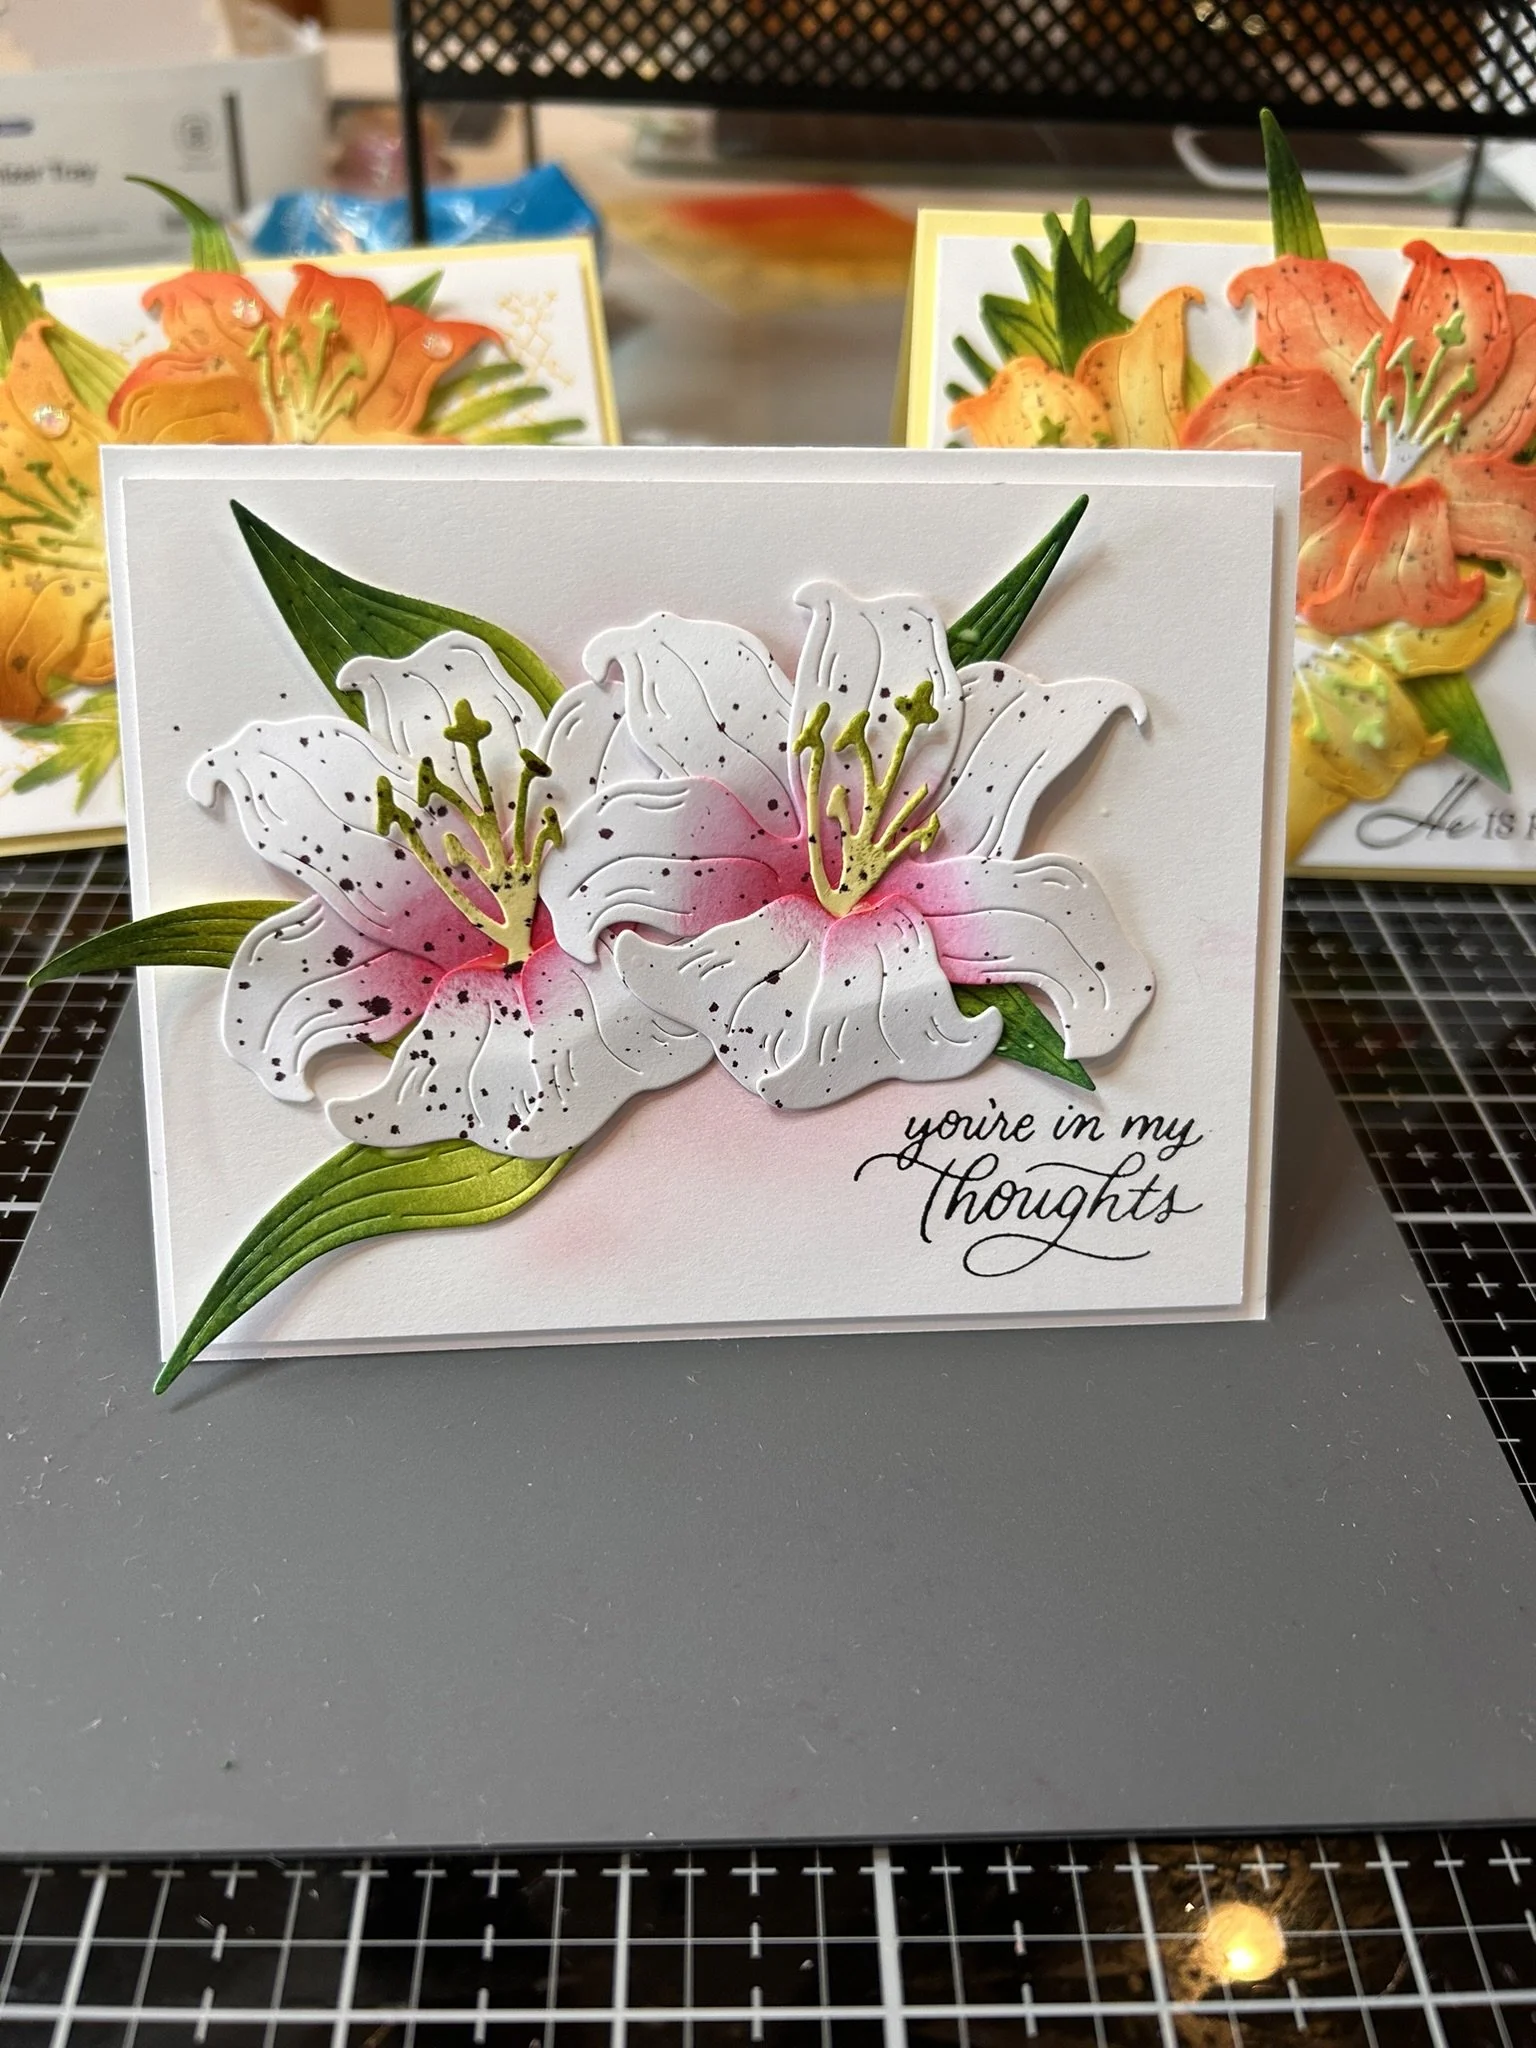
List of supplies used for pink card: https://ldli.co/e/073xjy4
Photo Gallery:
Directions listed below gallery.
Directions:
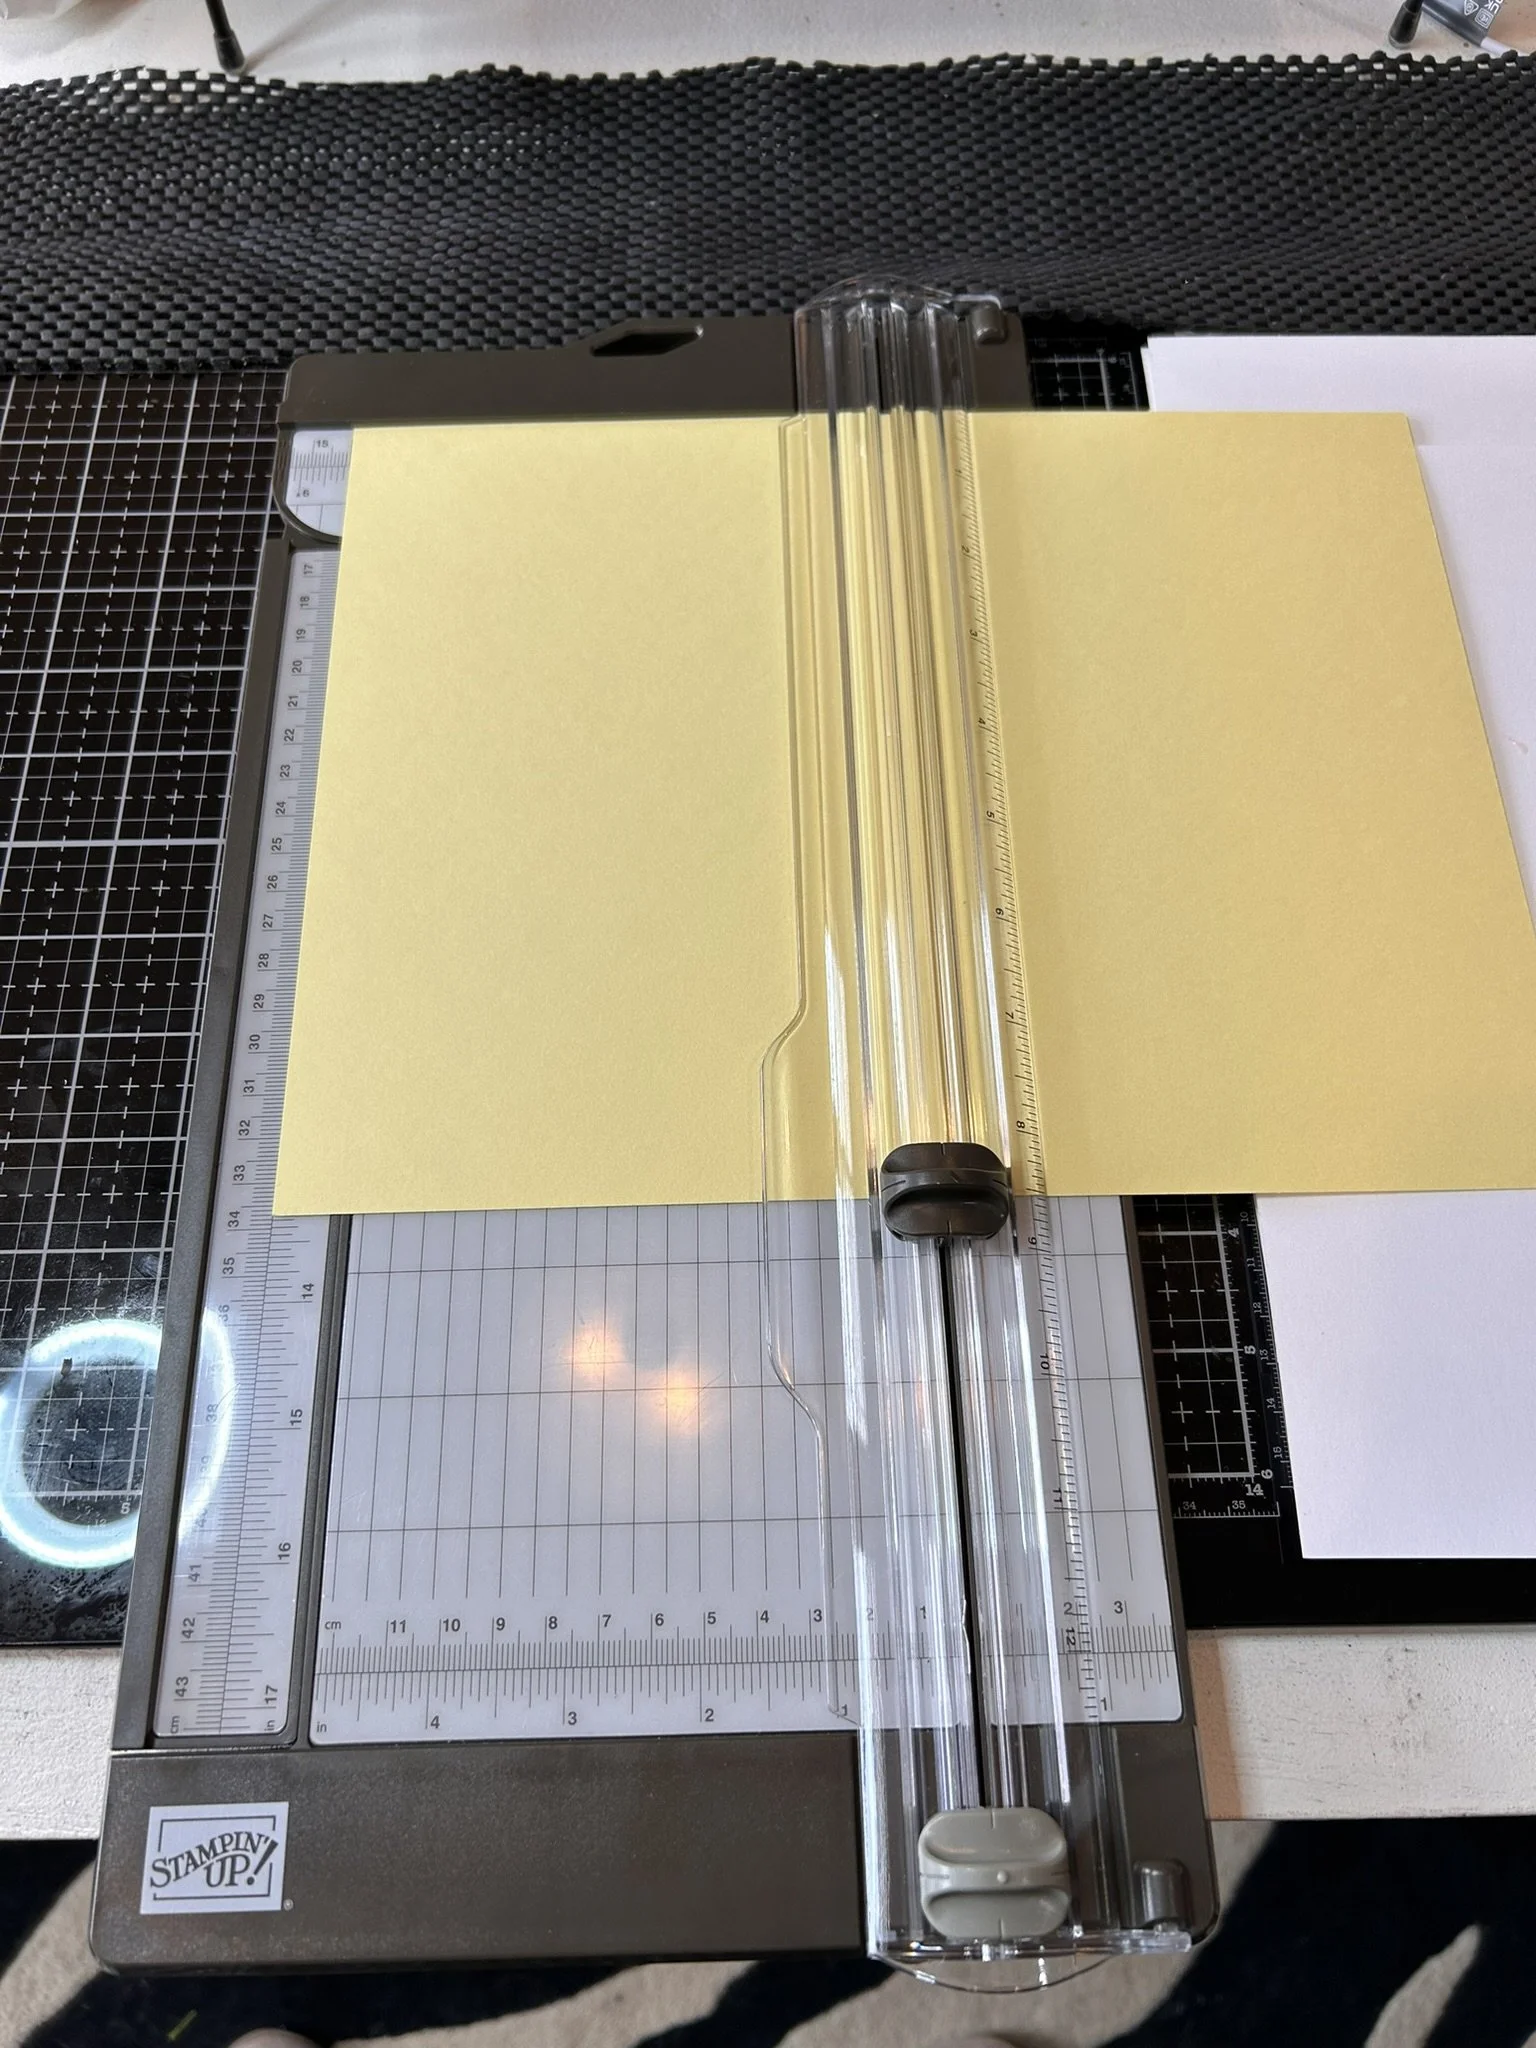
Take a piece of Lemon Lolly card stock, cut along long side at 5 ½ “, you will have two card bases measuring 5 ½” by 8 ½”.
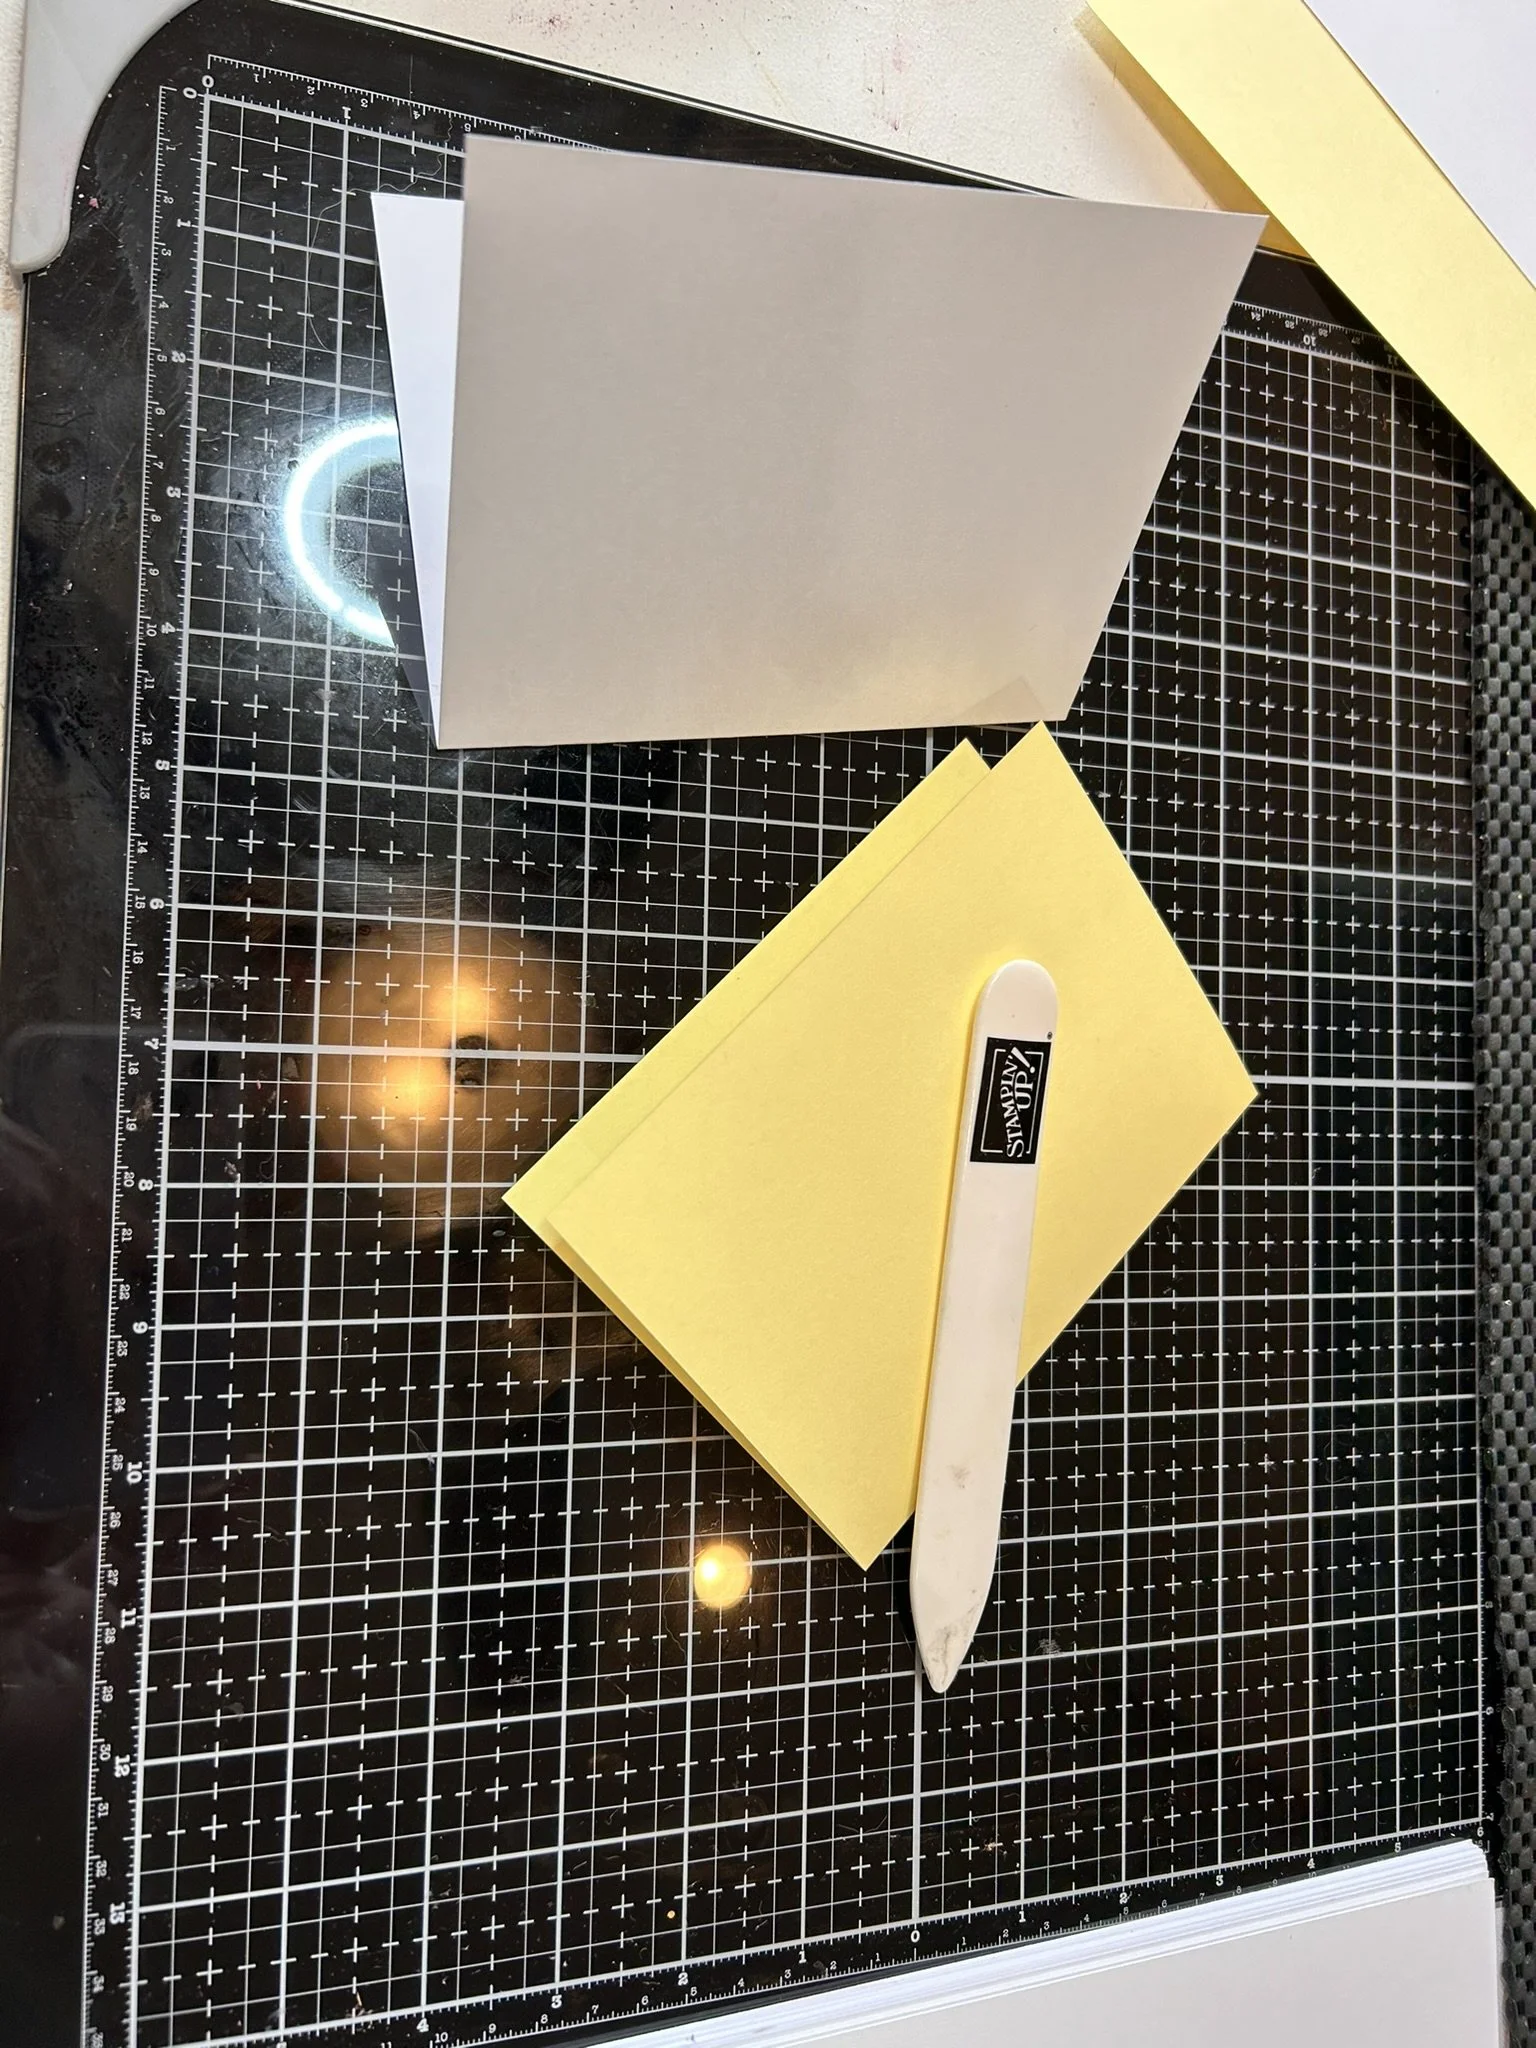
Score one piece in half on long side at 4 ½”
Fold and burnish using your bone folder
Repeat with one piece of thick basic white cardstock
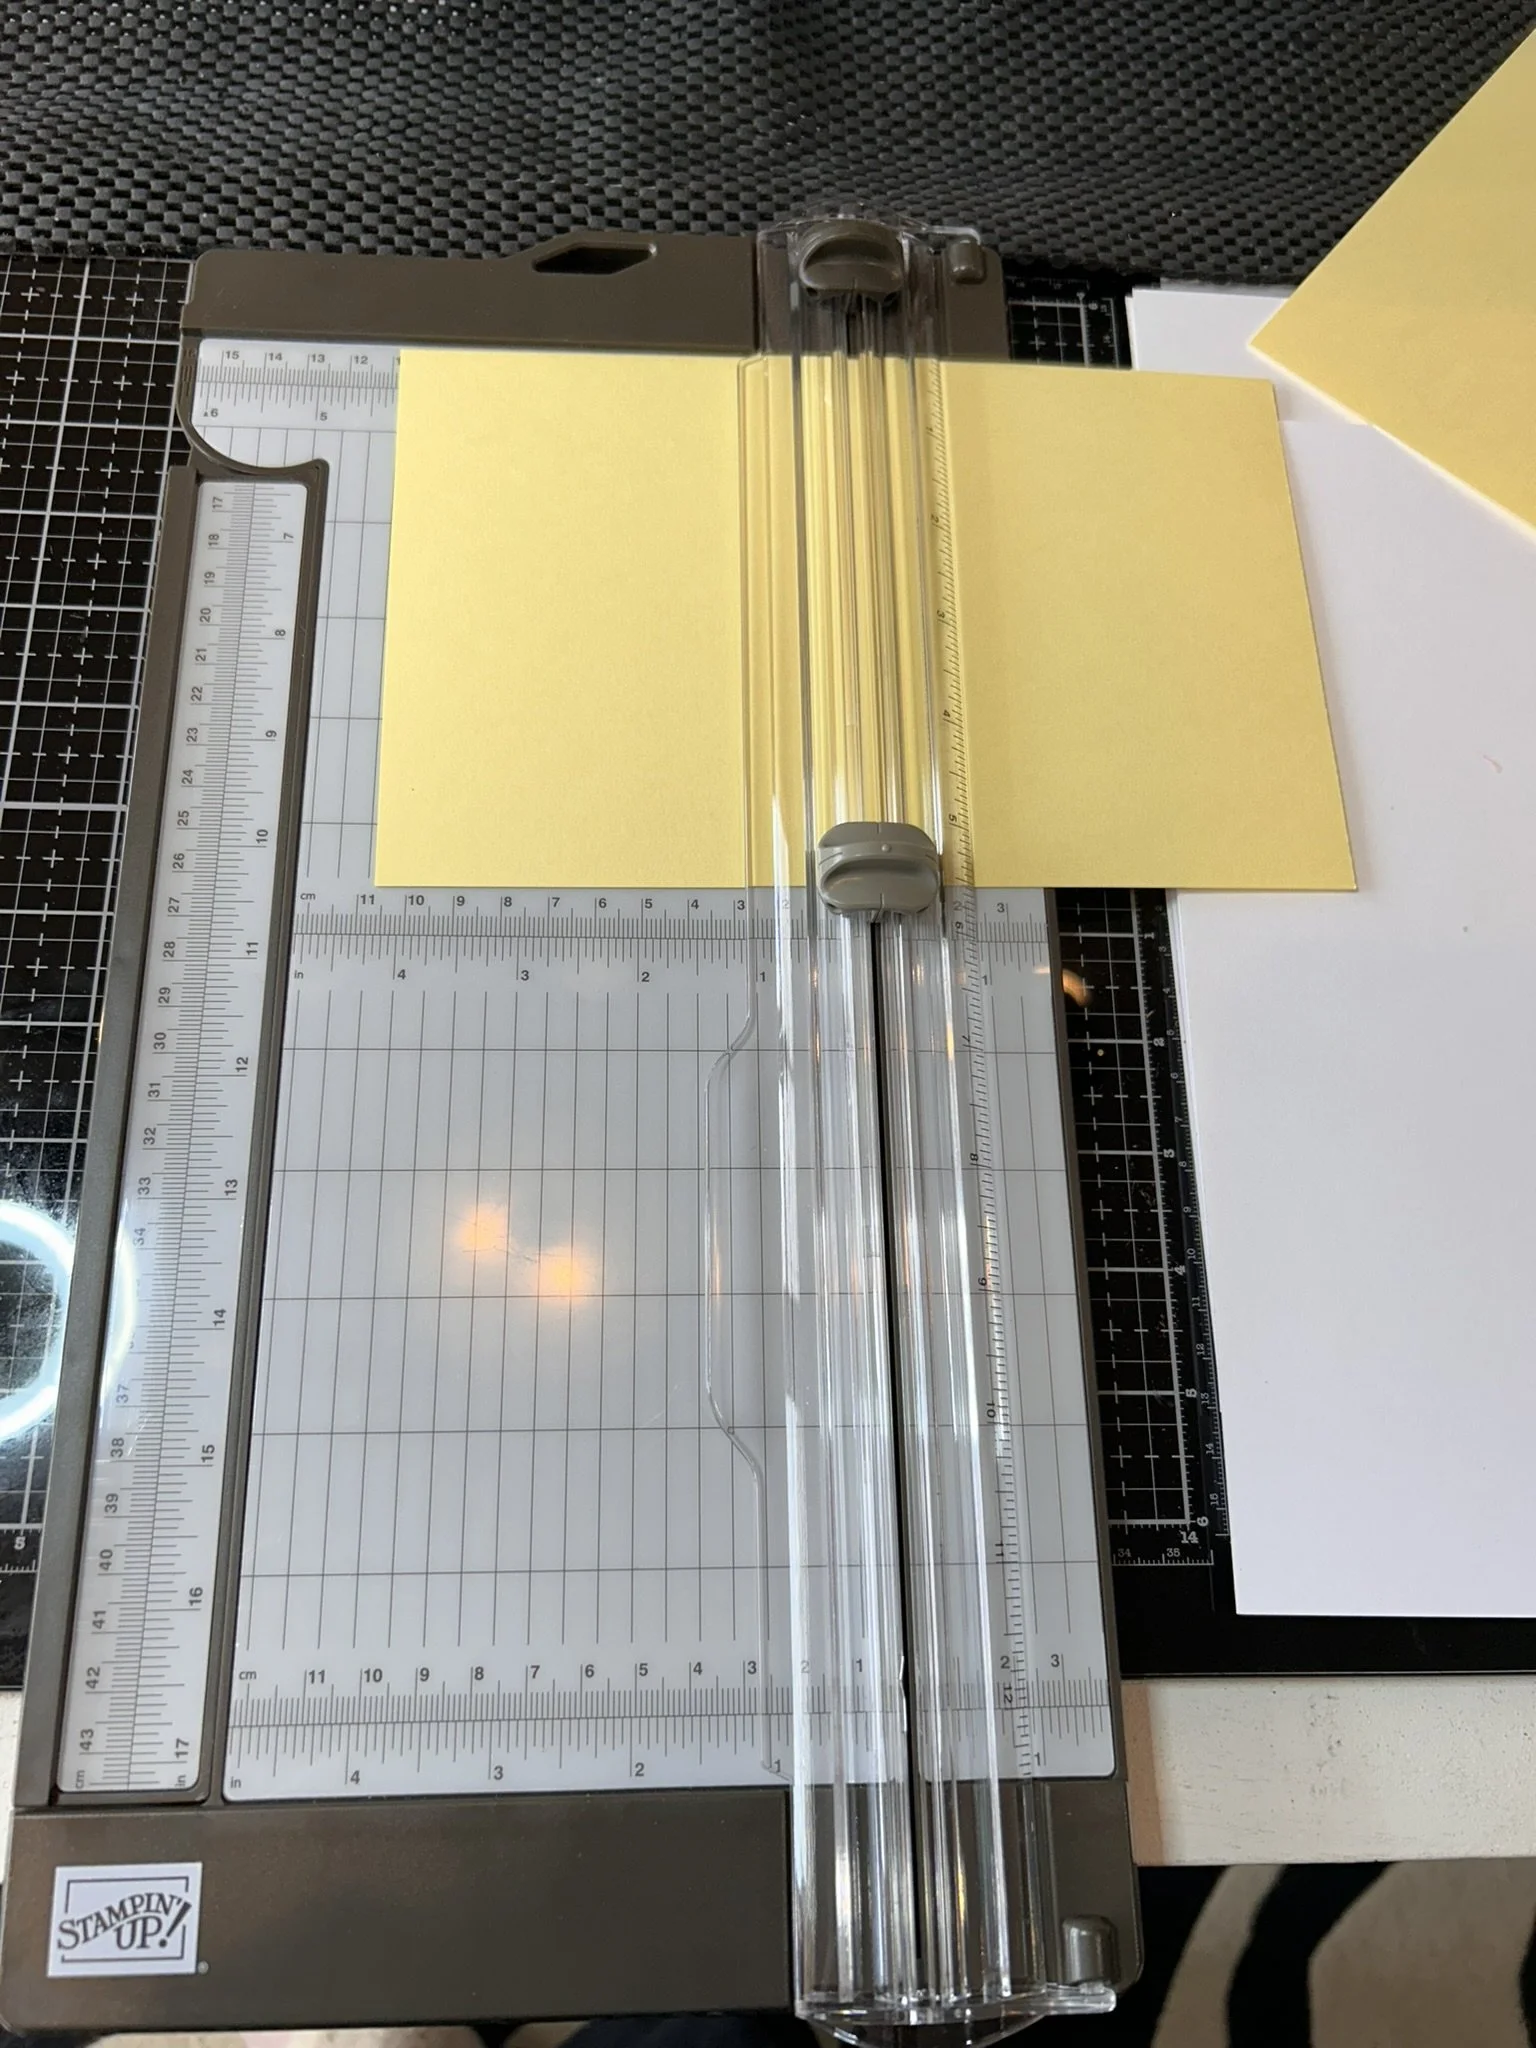
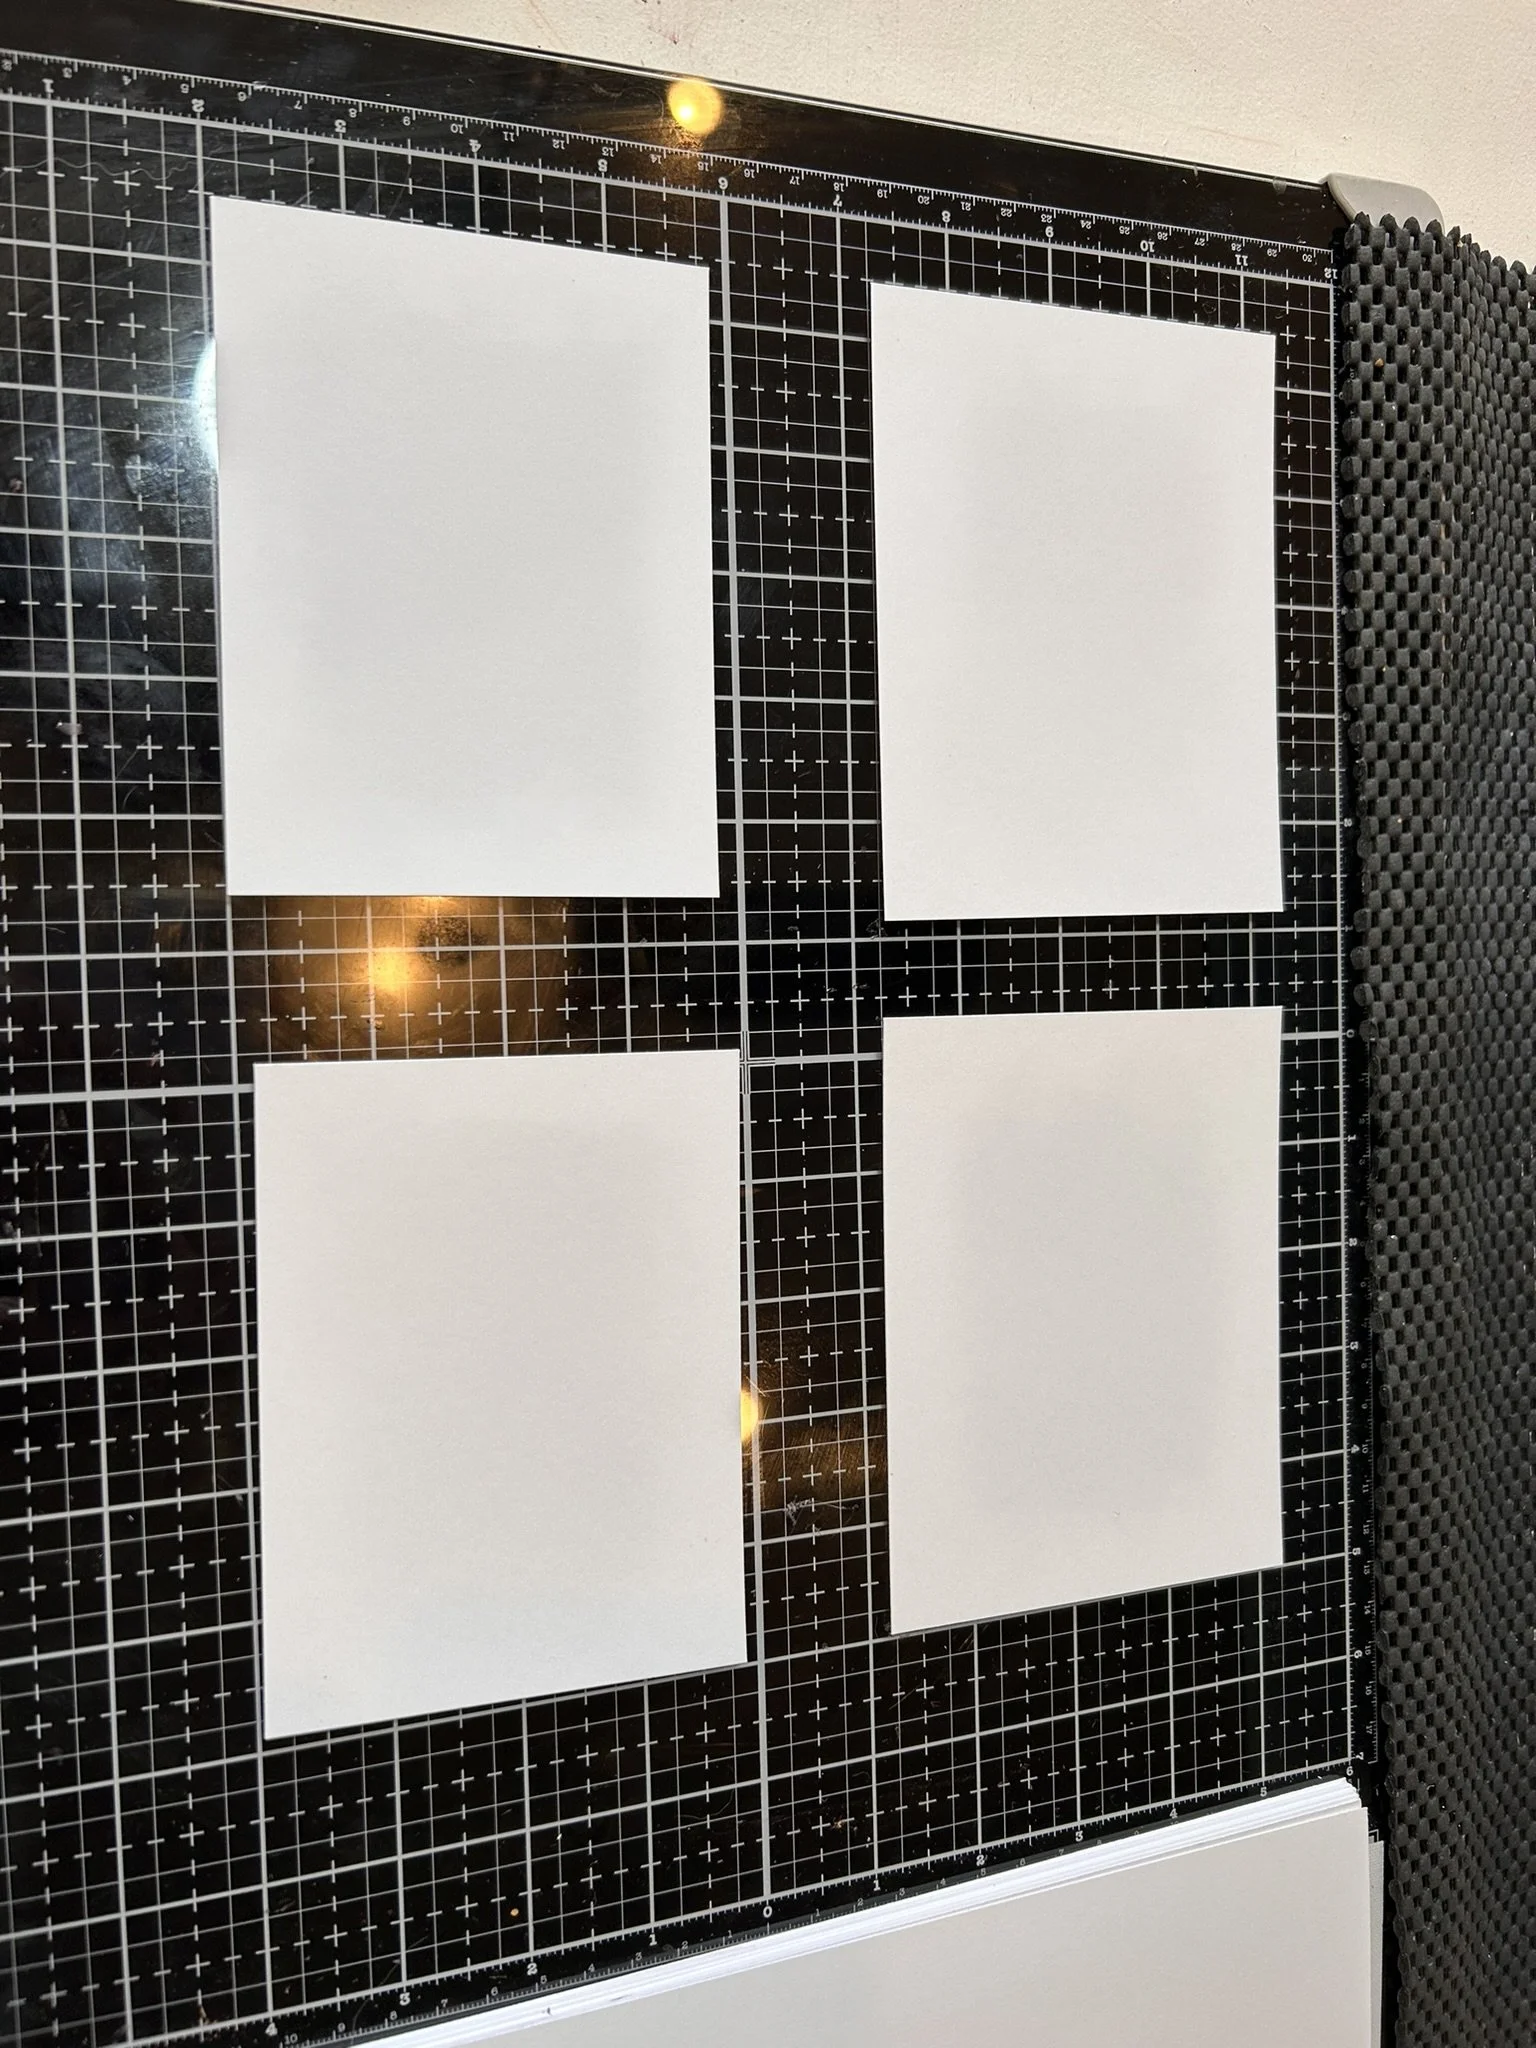
Take another piece of basic white cardstock and cut into four pieces to make your layers. Cut along long side at 5 ¼” and then turn to cut two pieces at 4”. Repeat.
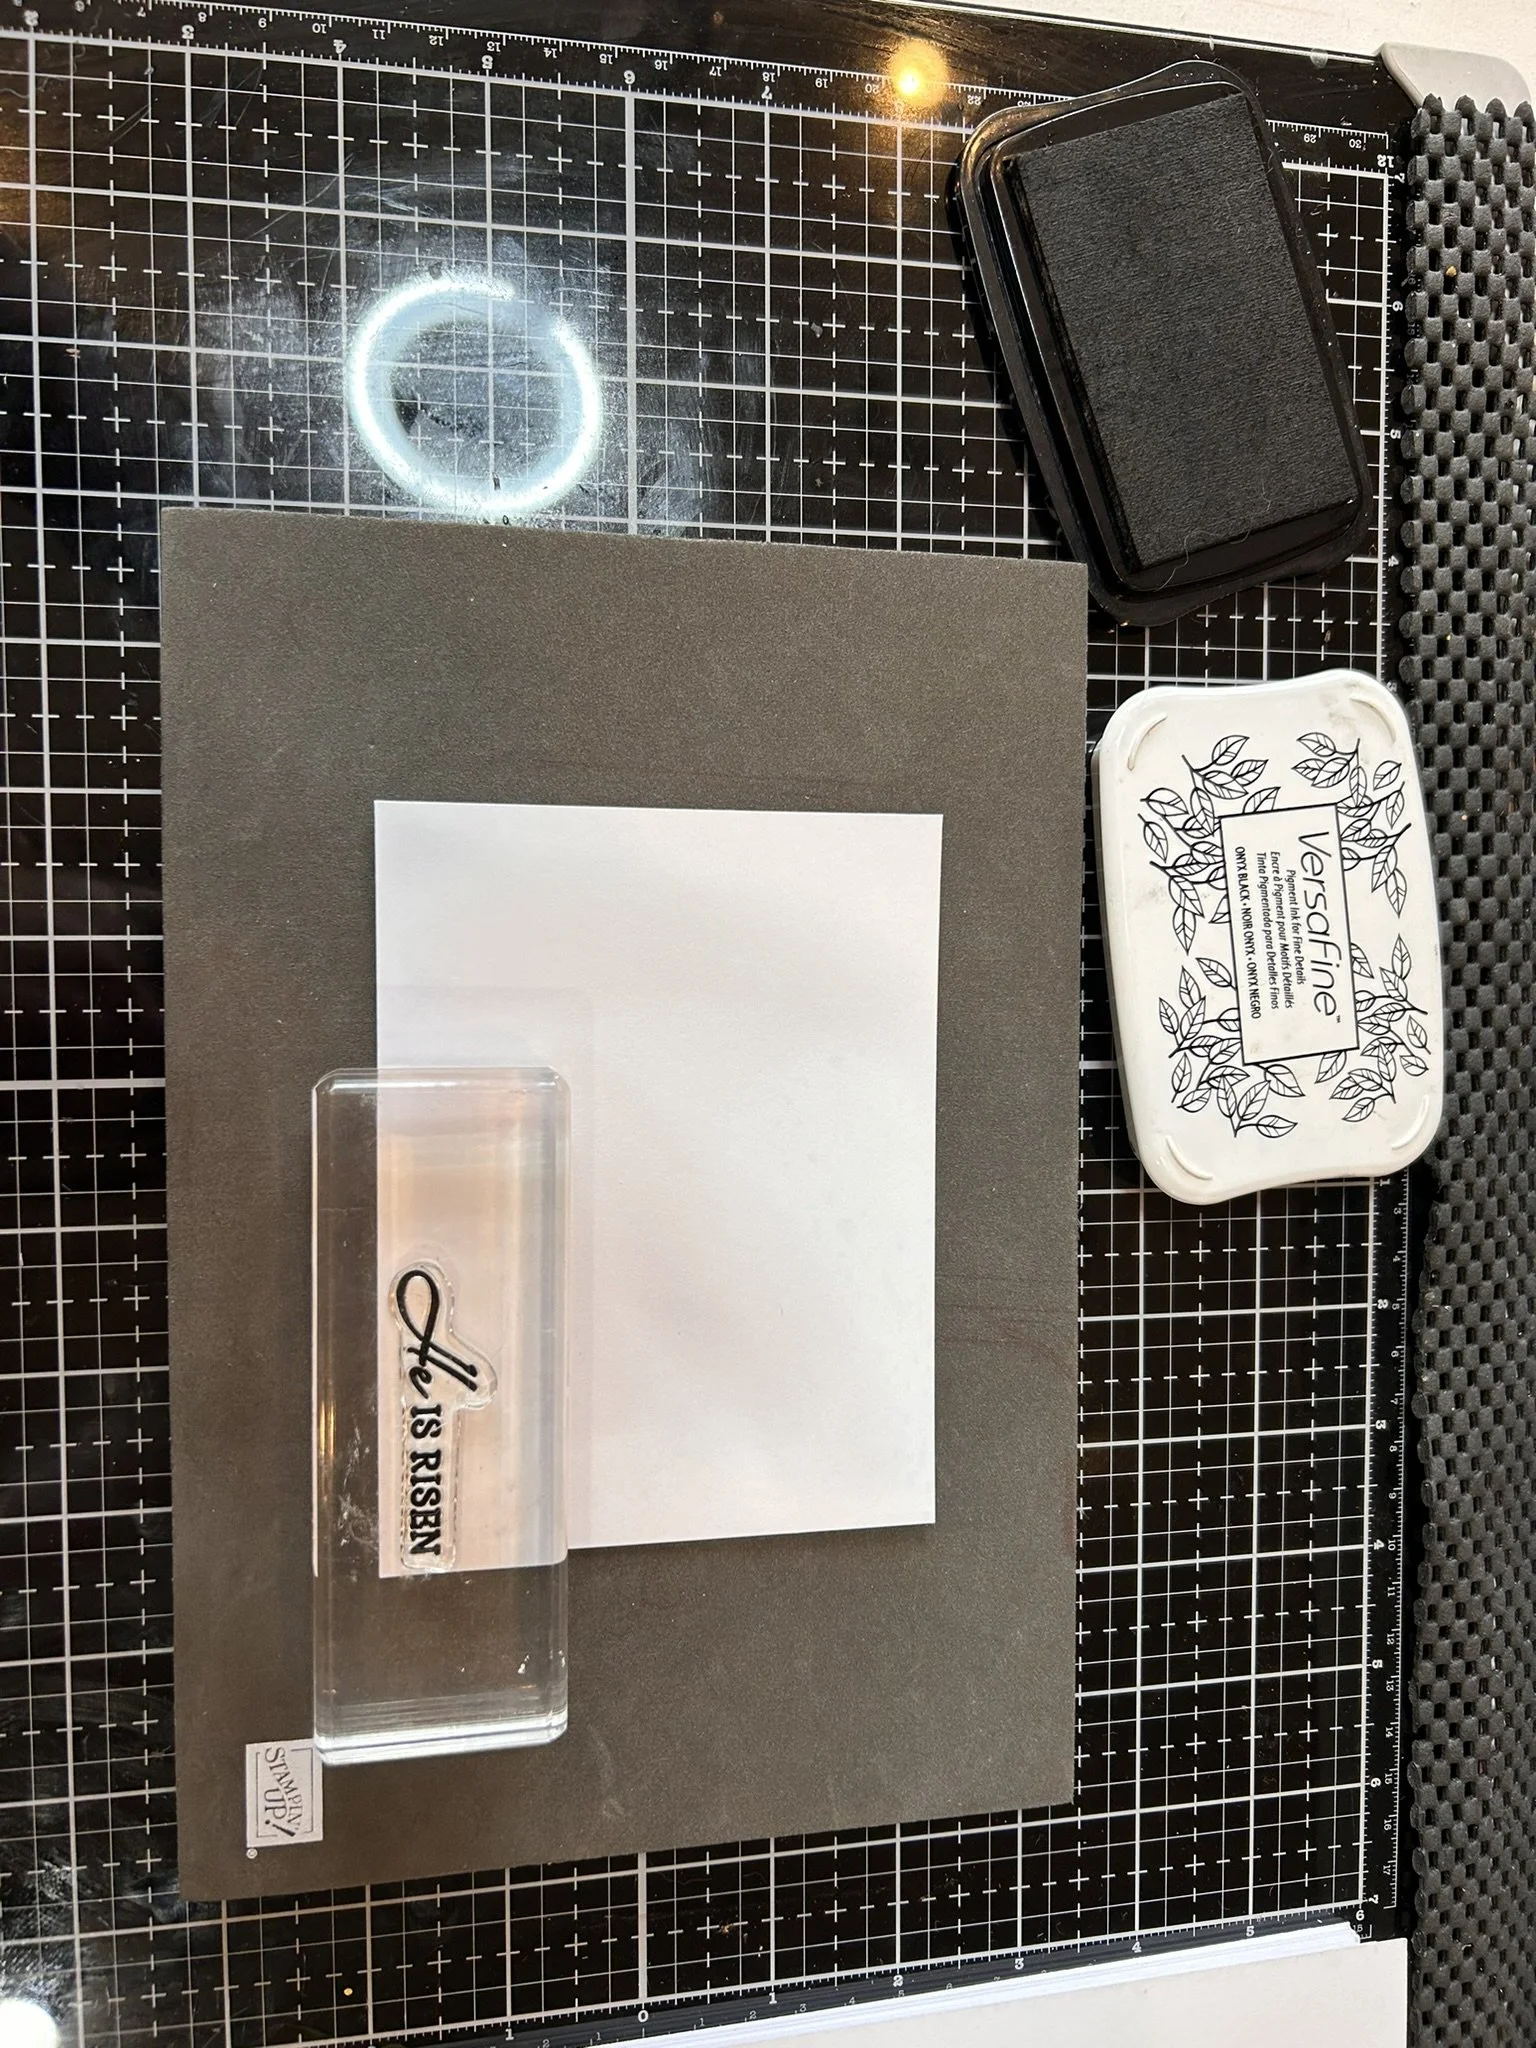
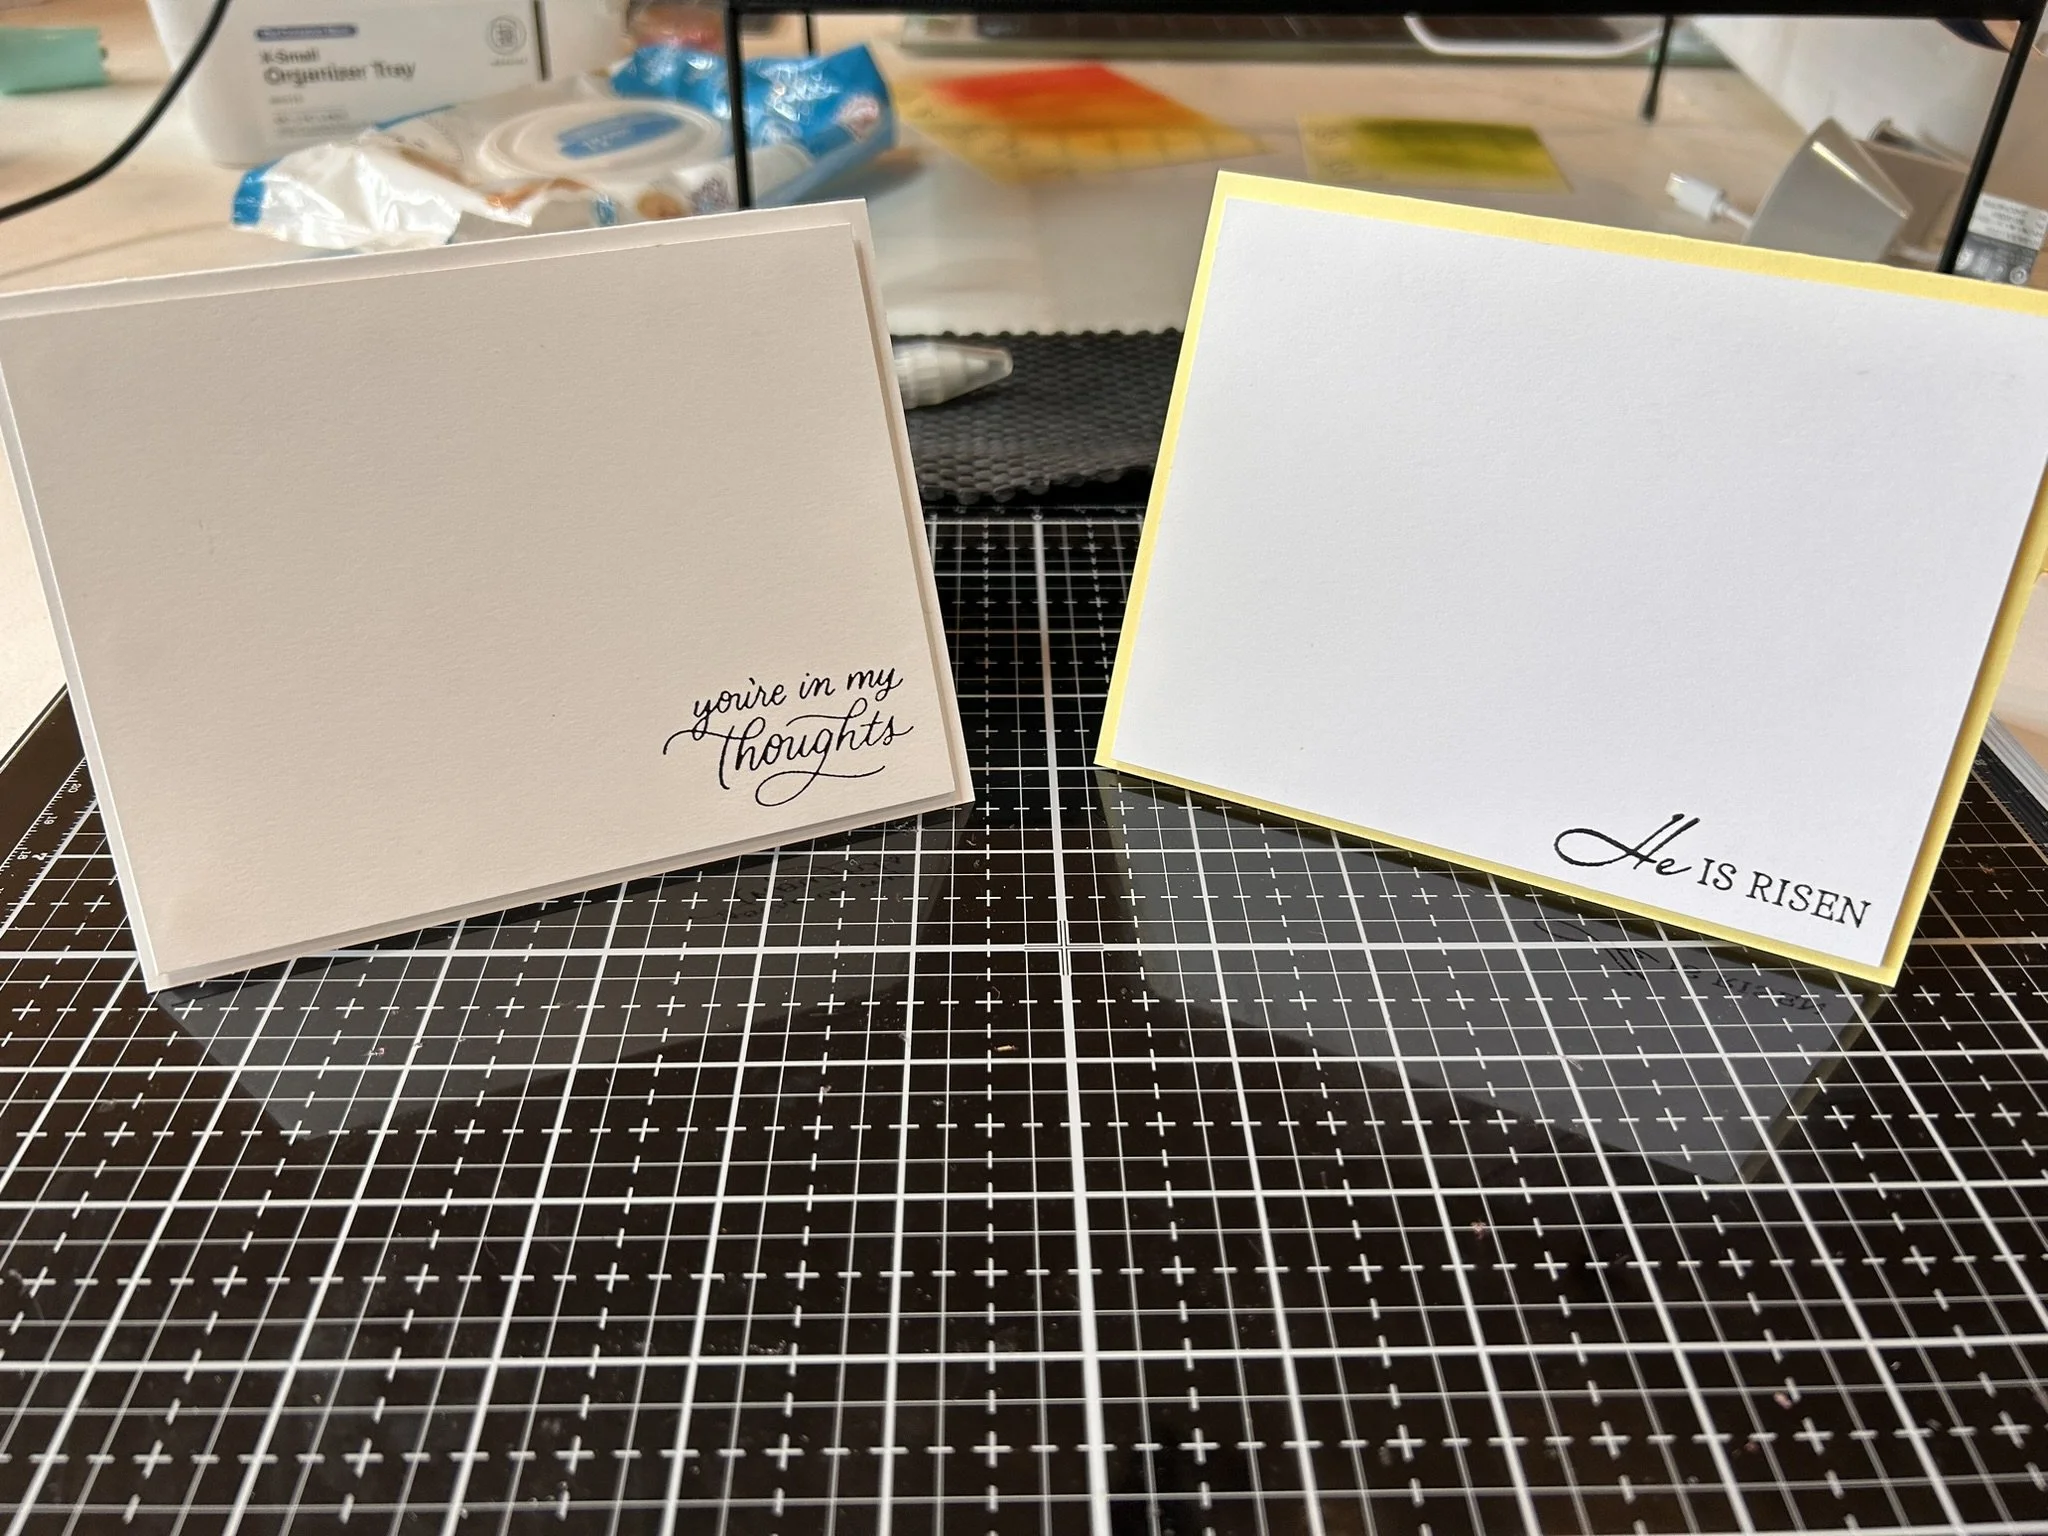
Stamp sentiment on one of your white layers in the lower left corner, using Versafine Onyx ink. Side aside to dry.
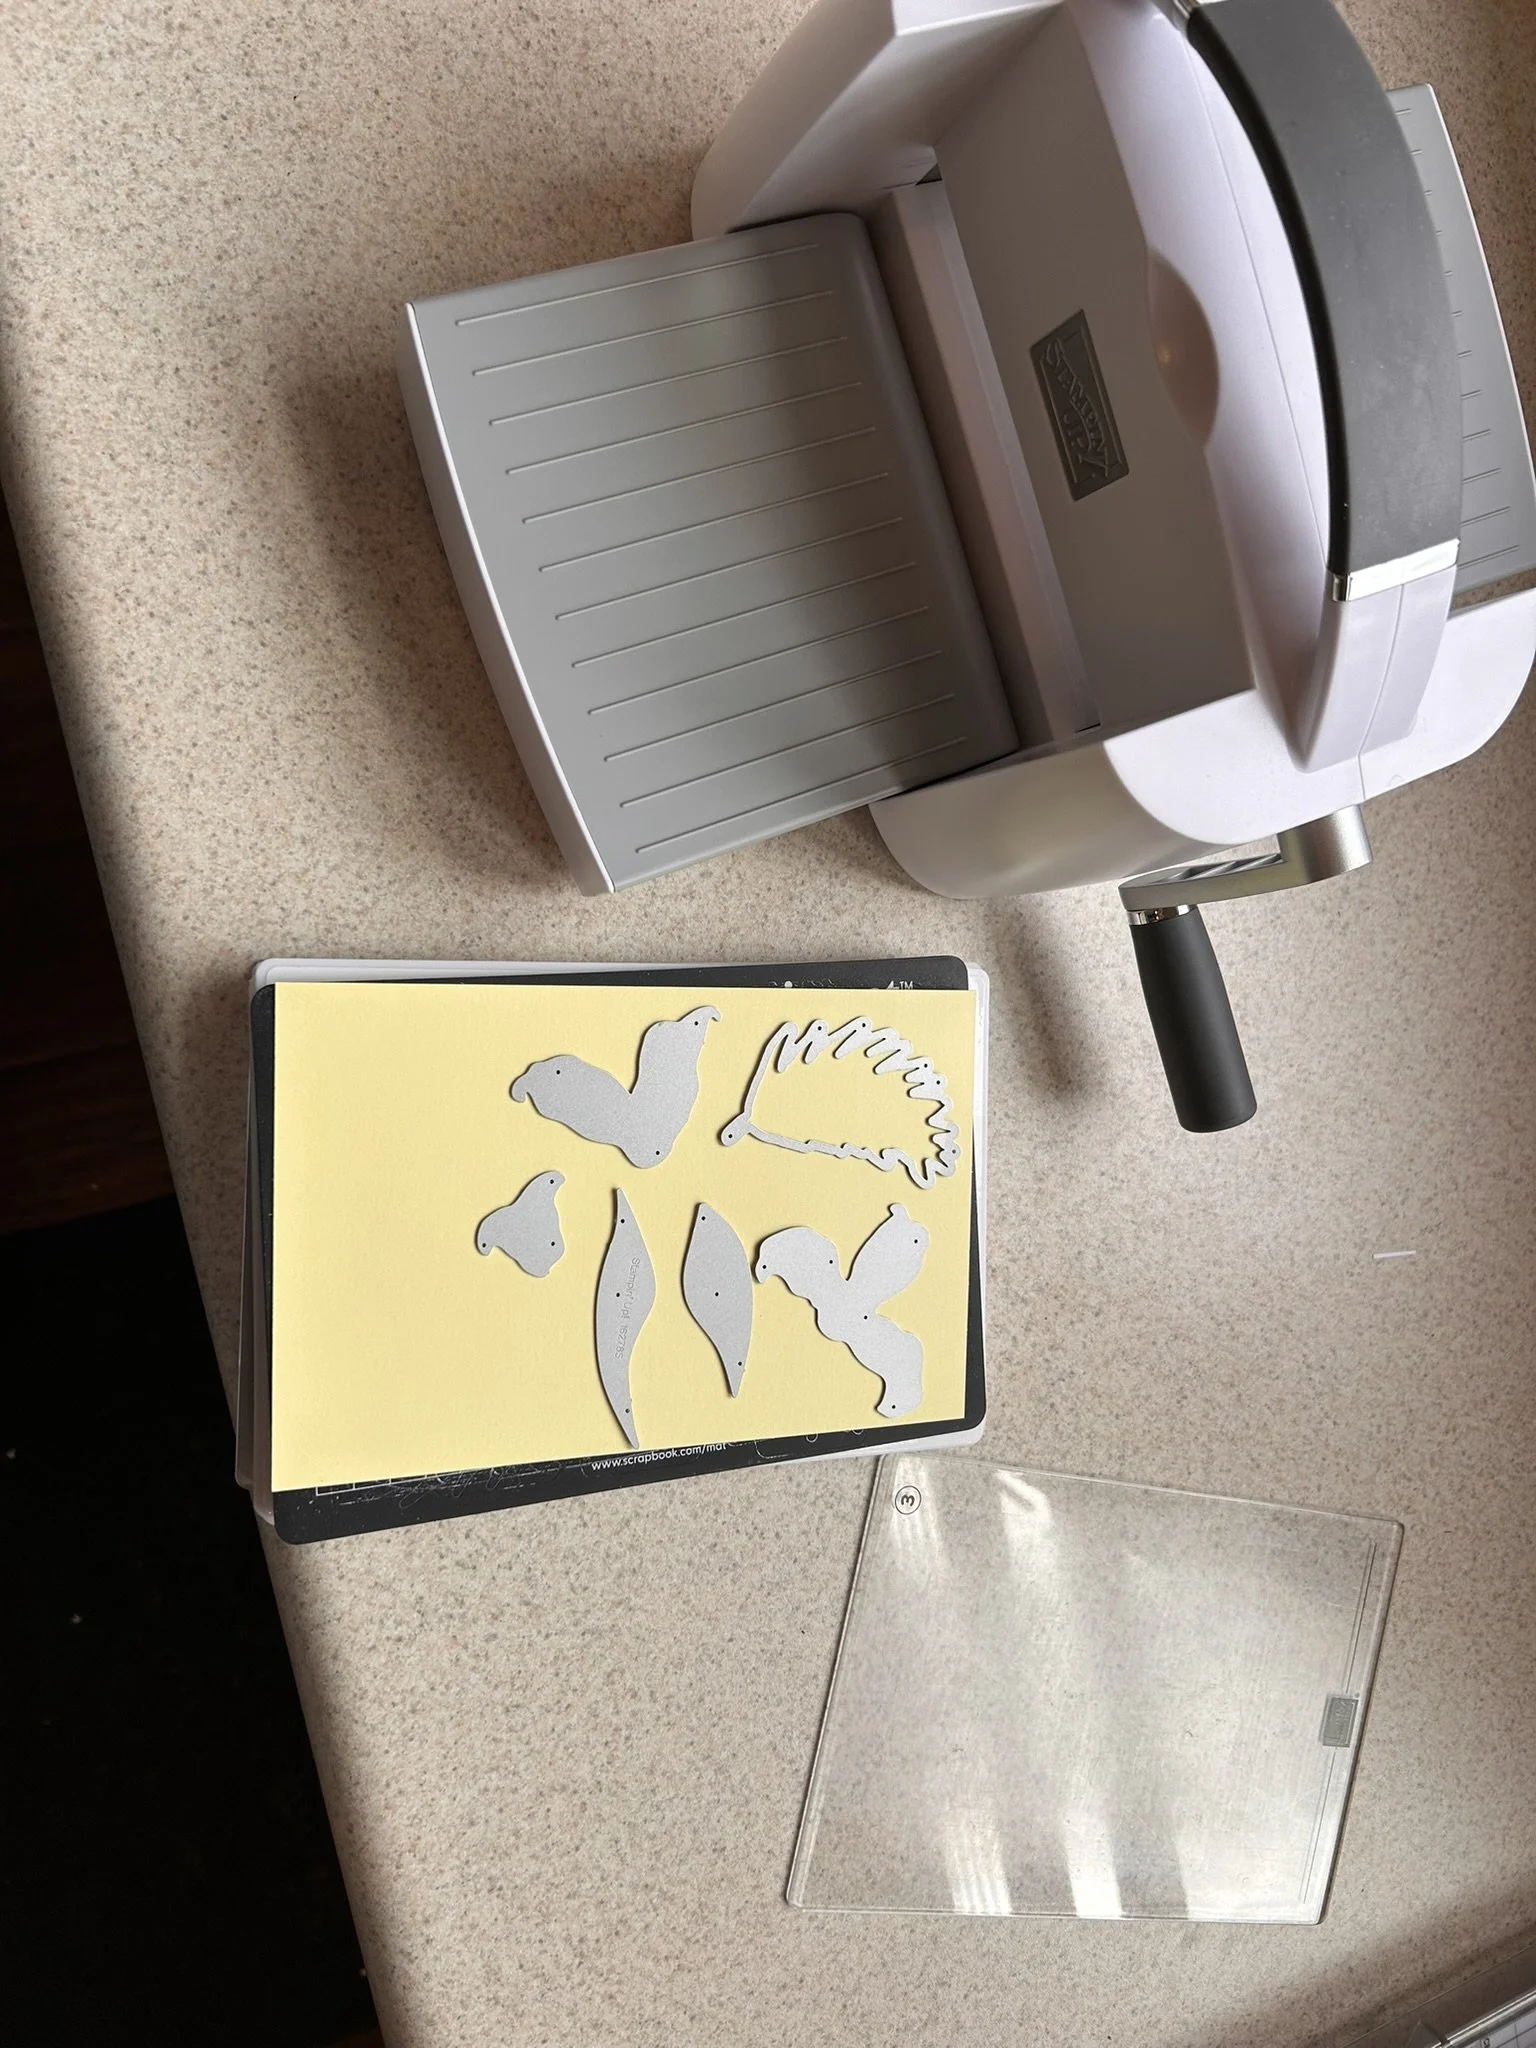
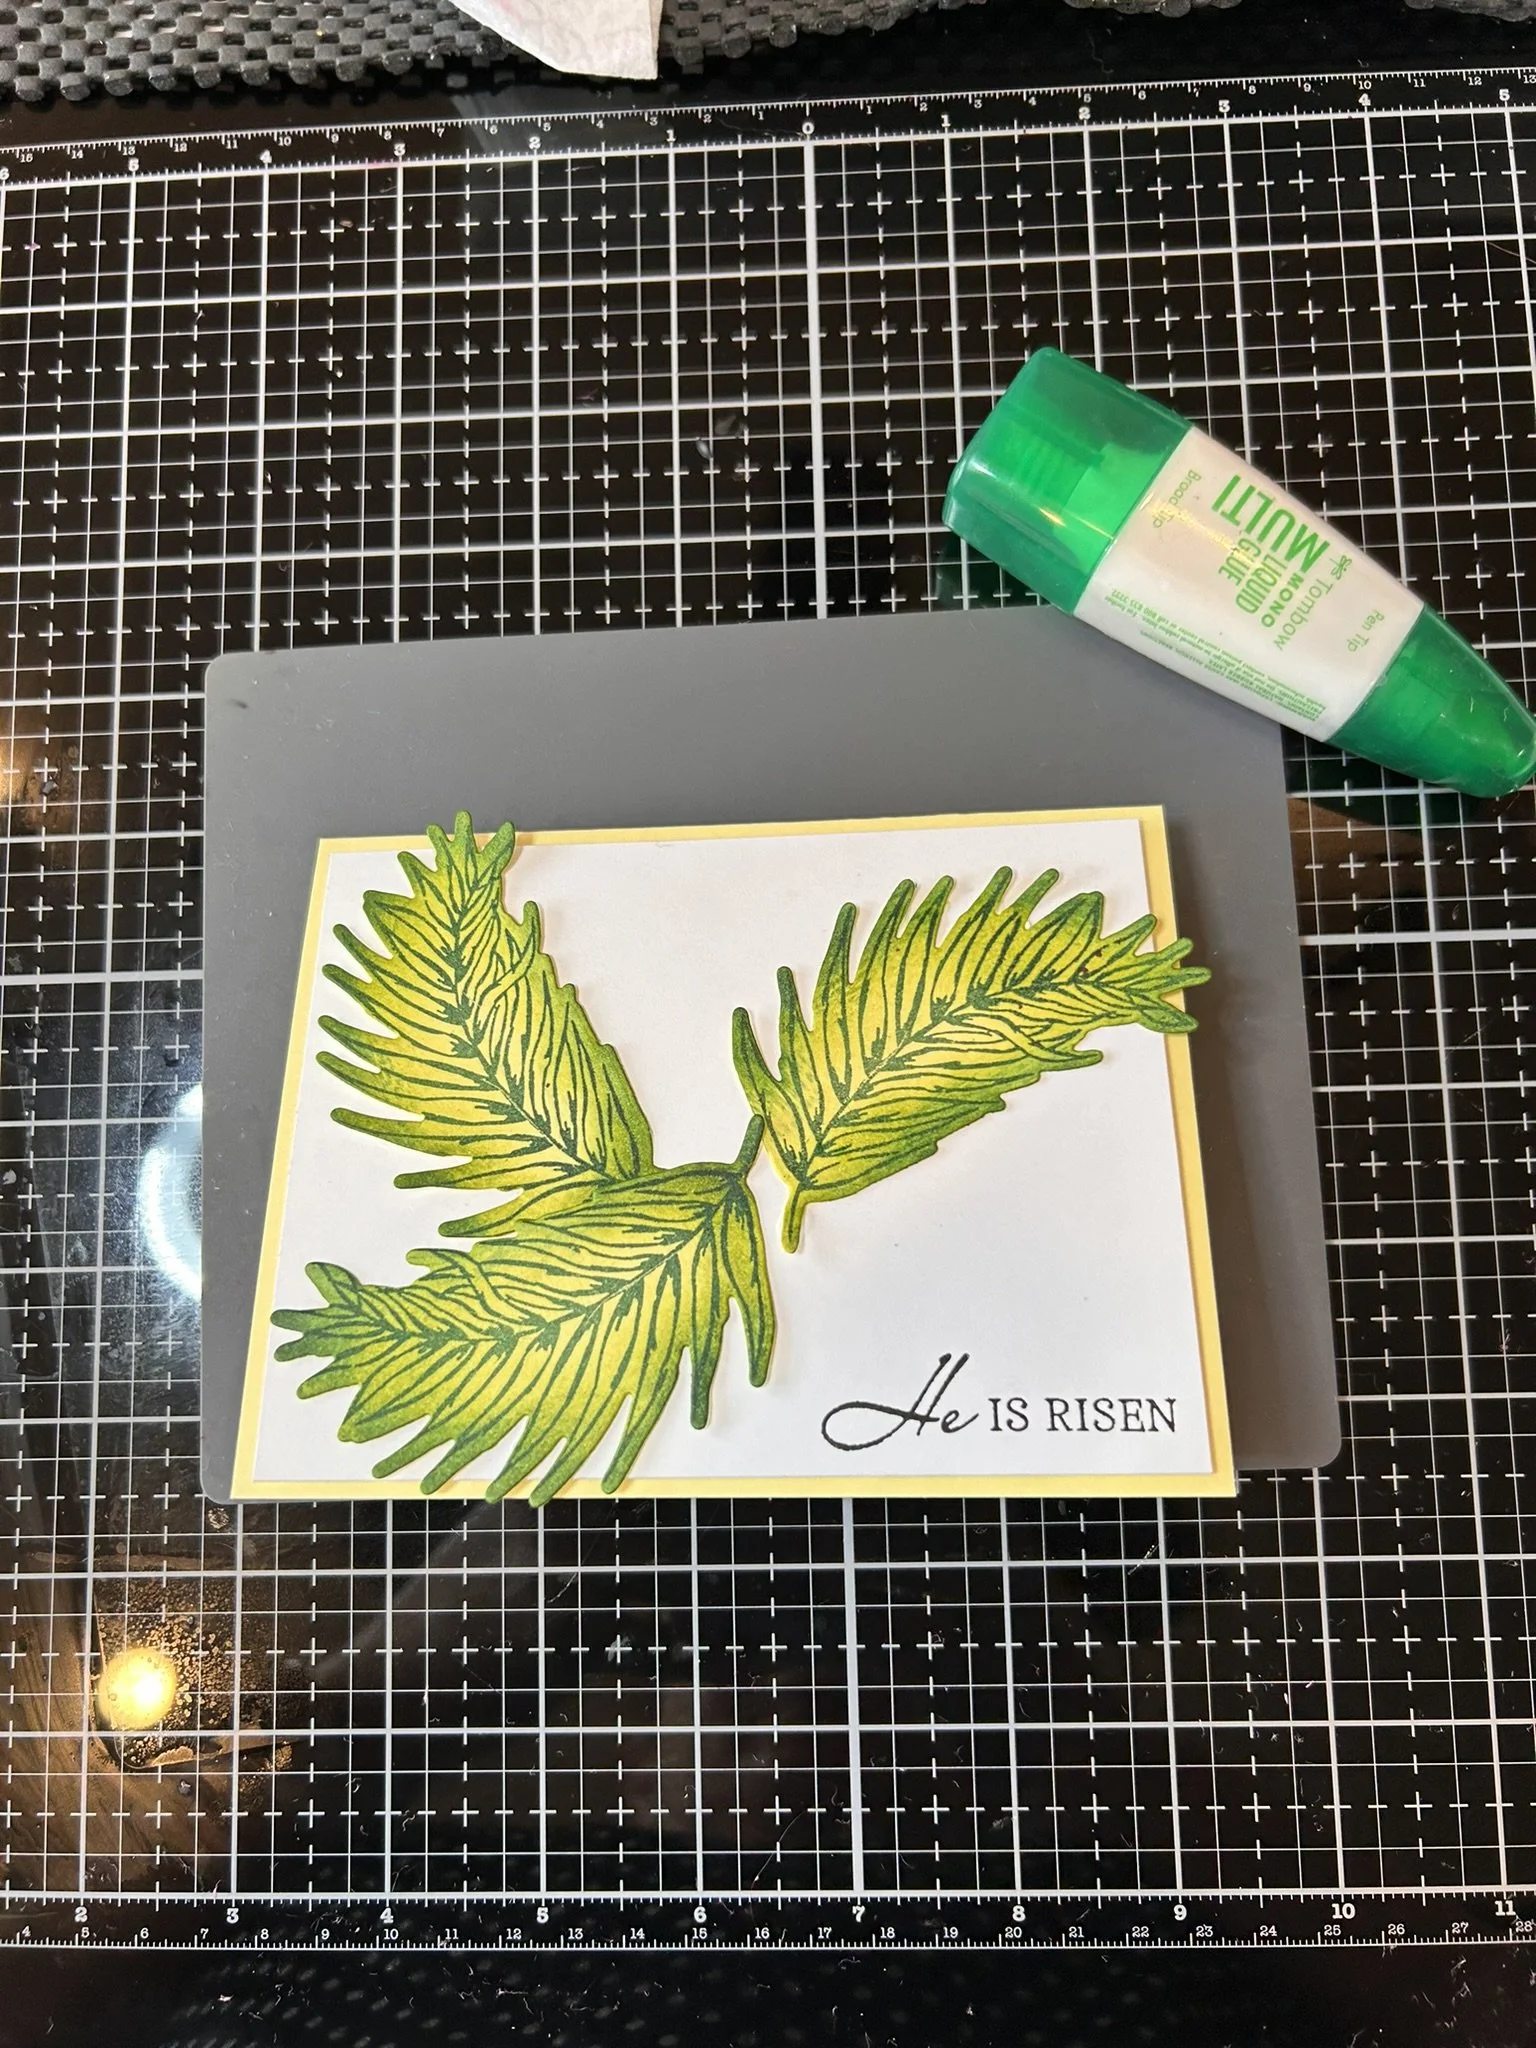
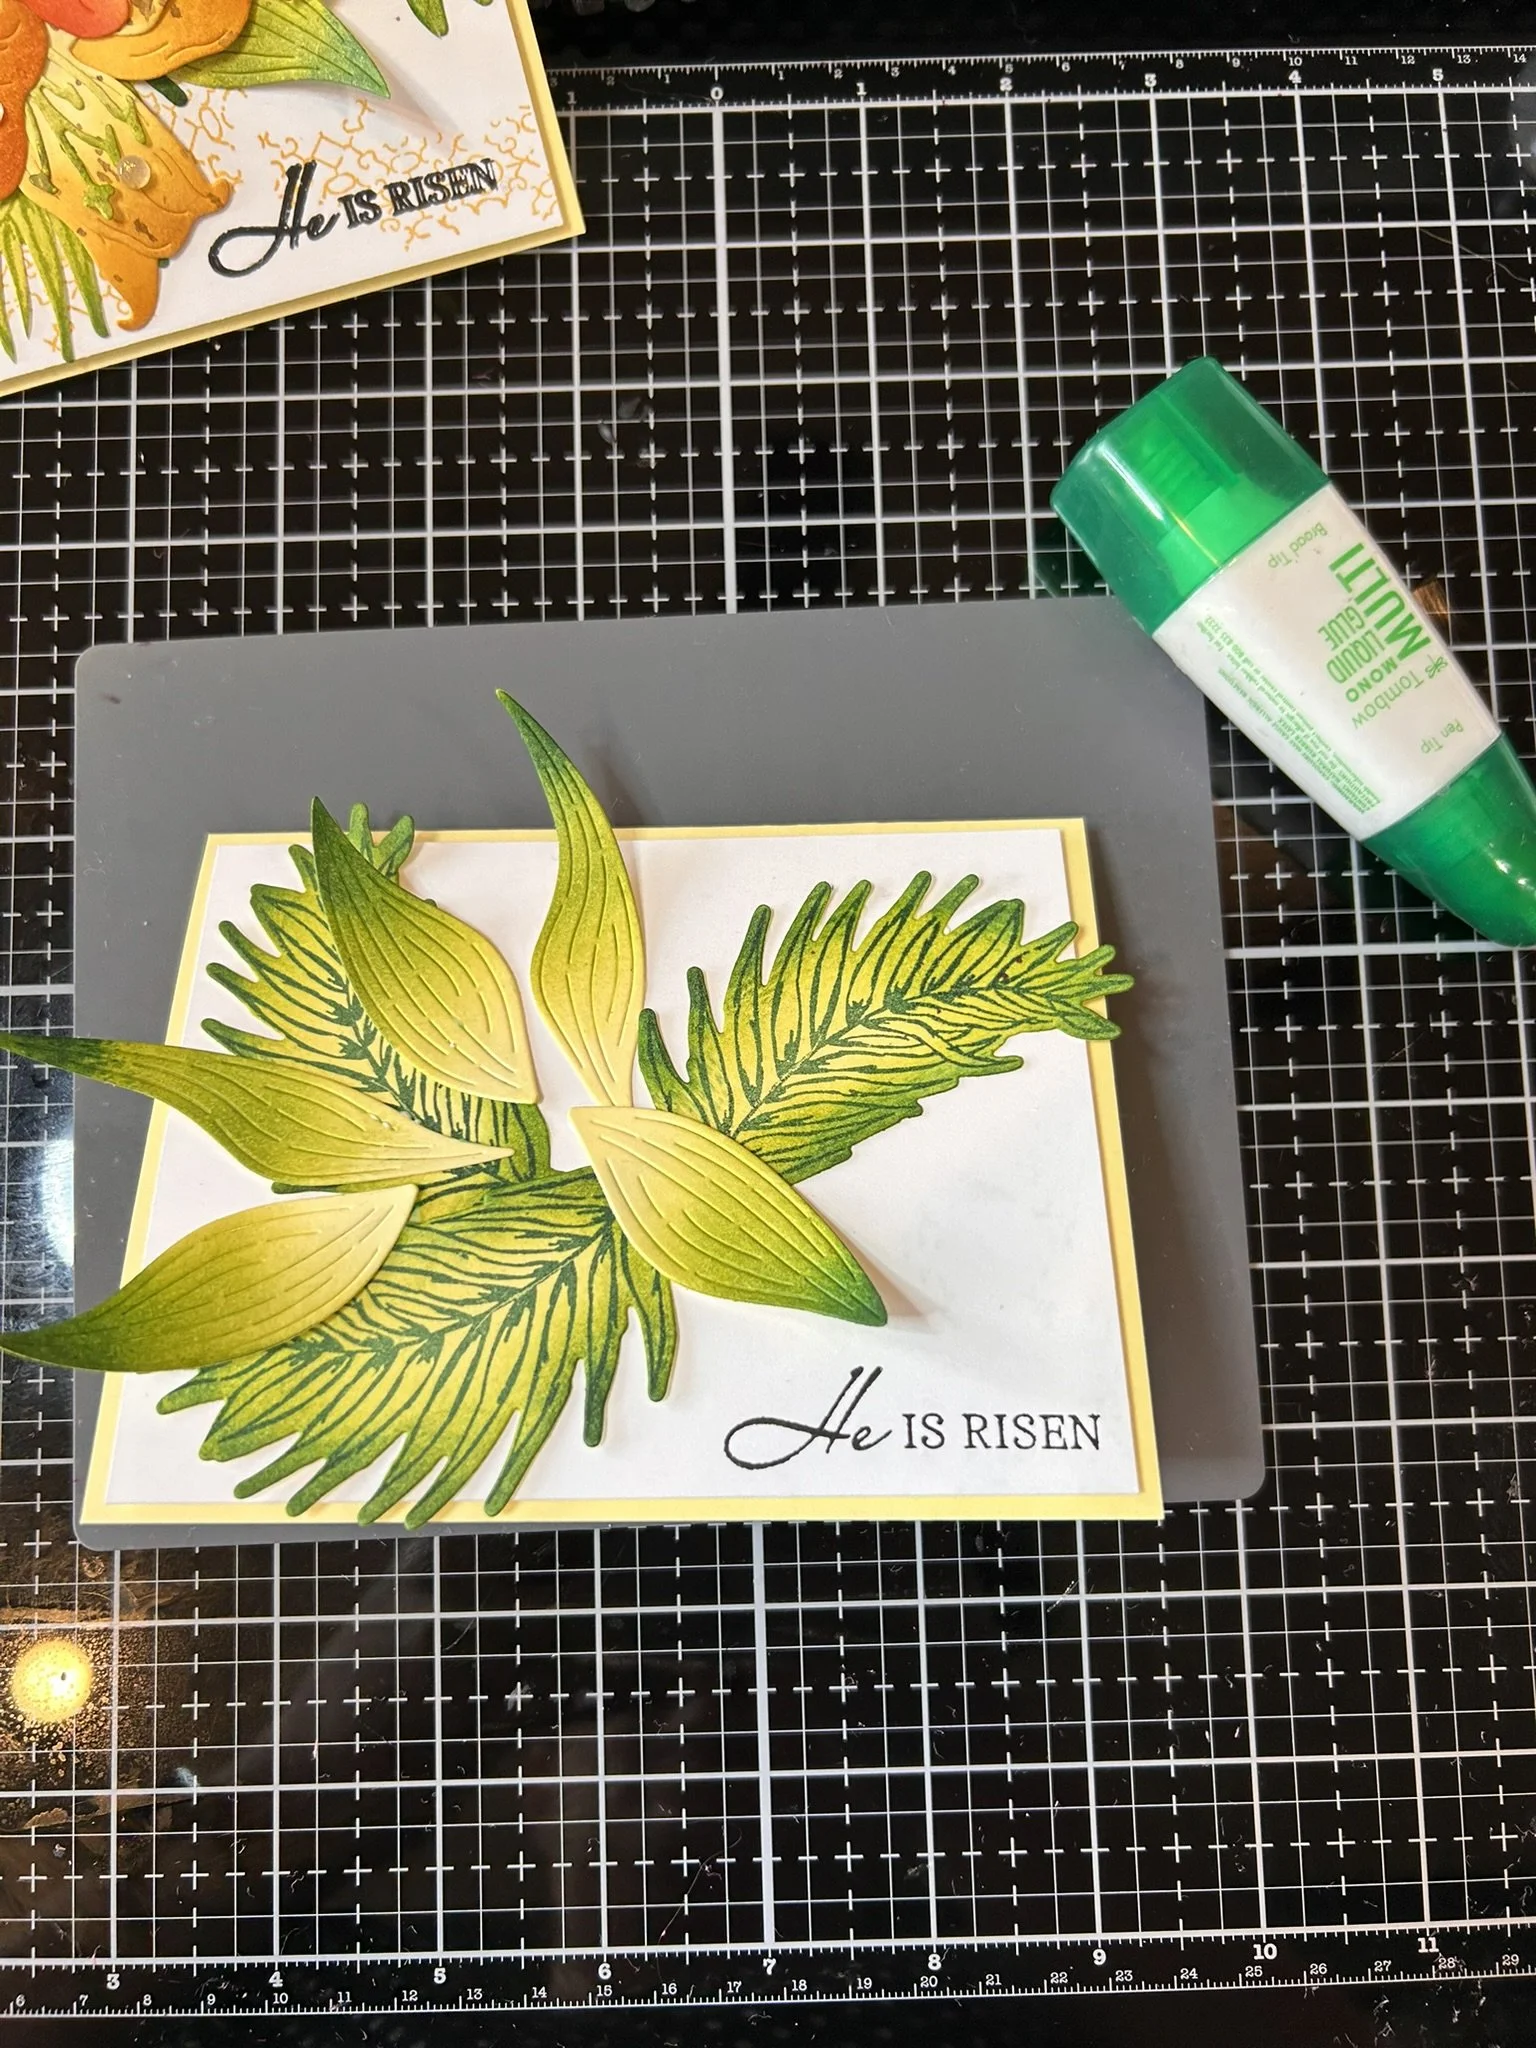
Using detailed flower building dies from your Easter Lilies bundle (the ones with the lines inside), cut out three sets of leaves and flowers out of your lemon lolly cardstock, and cut out two sets of leaves and flowers out of your thick basic white card stock.
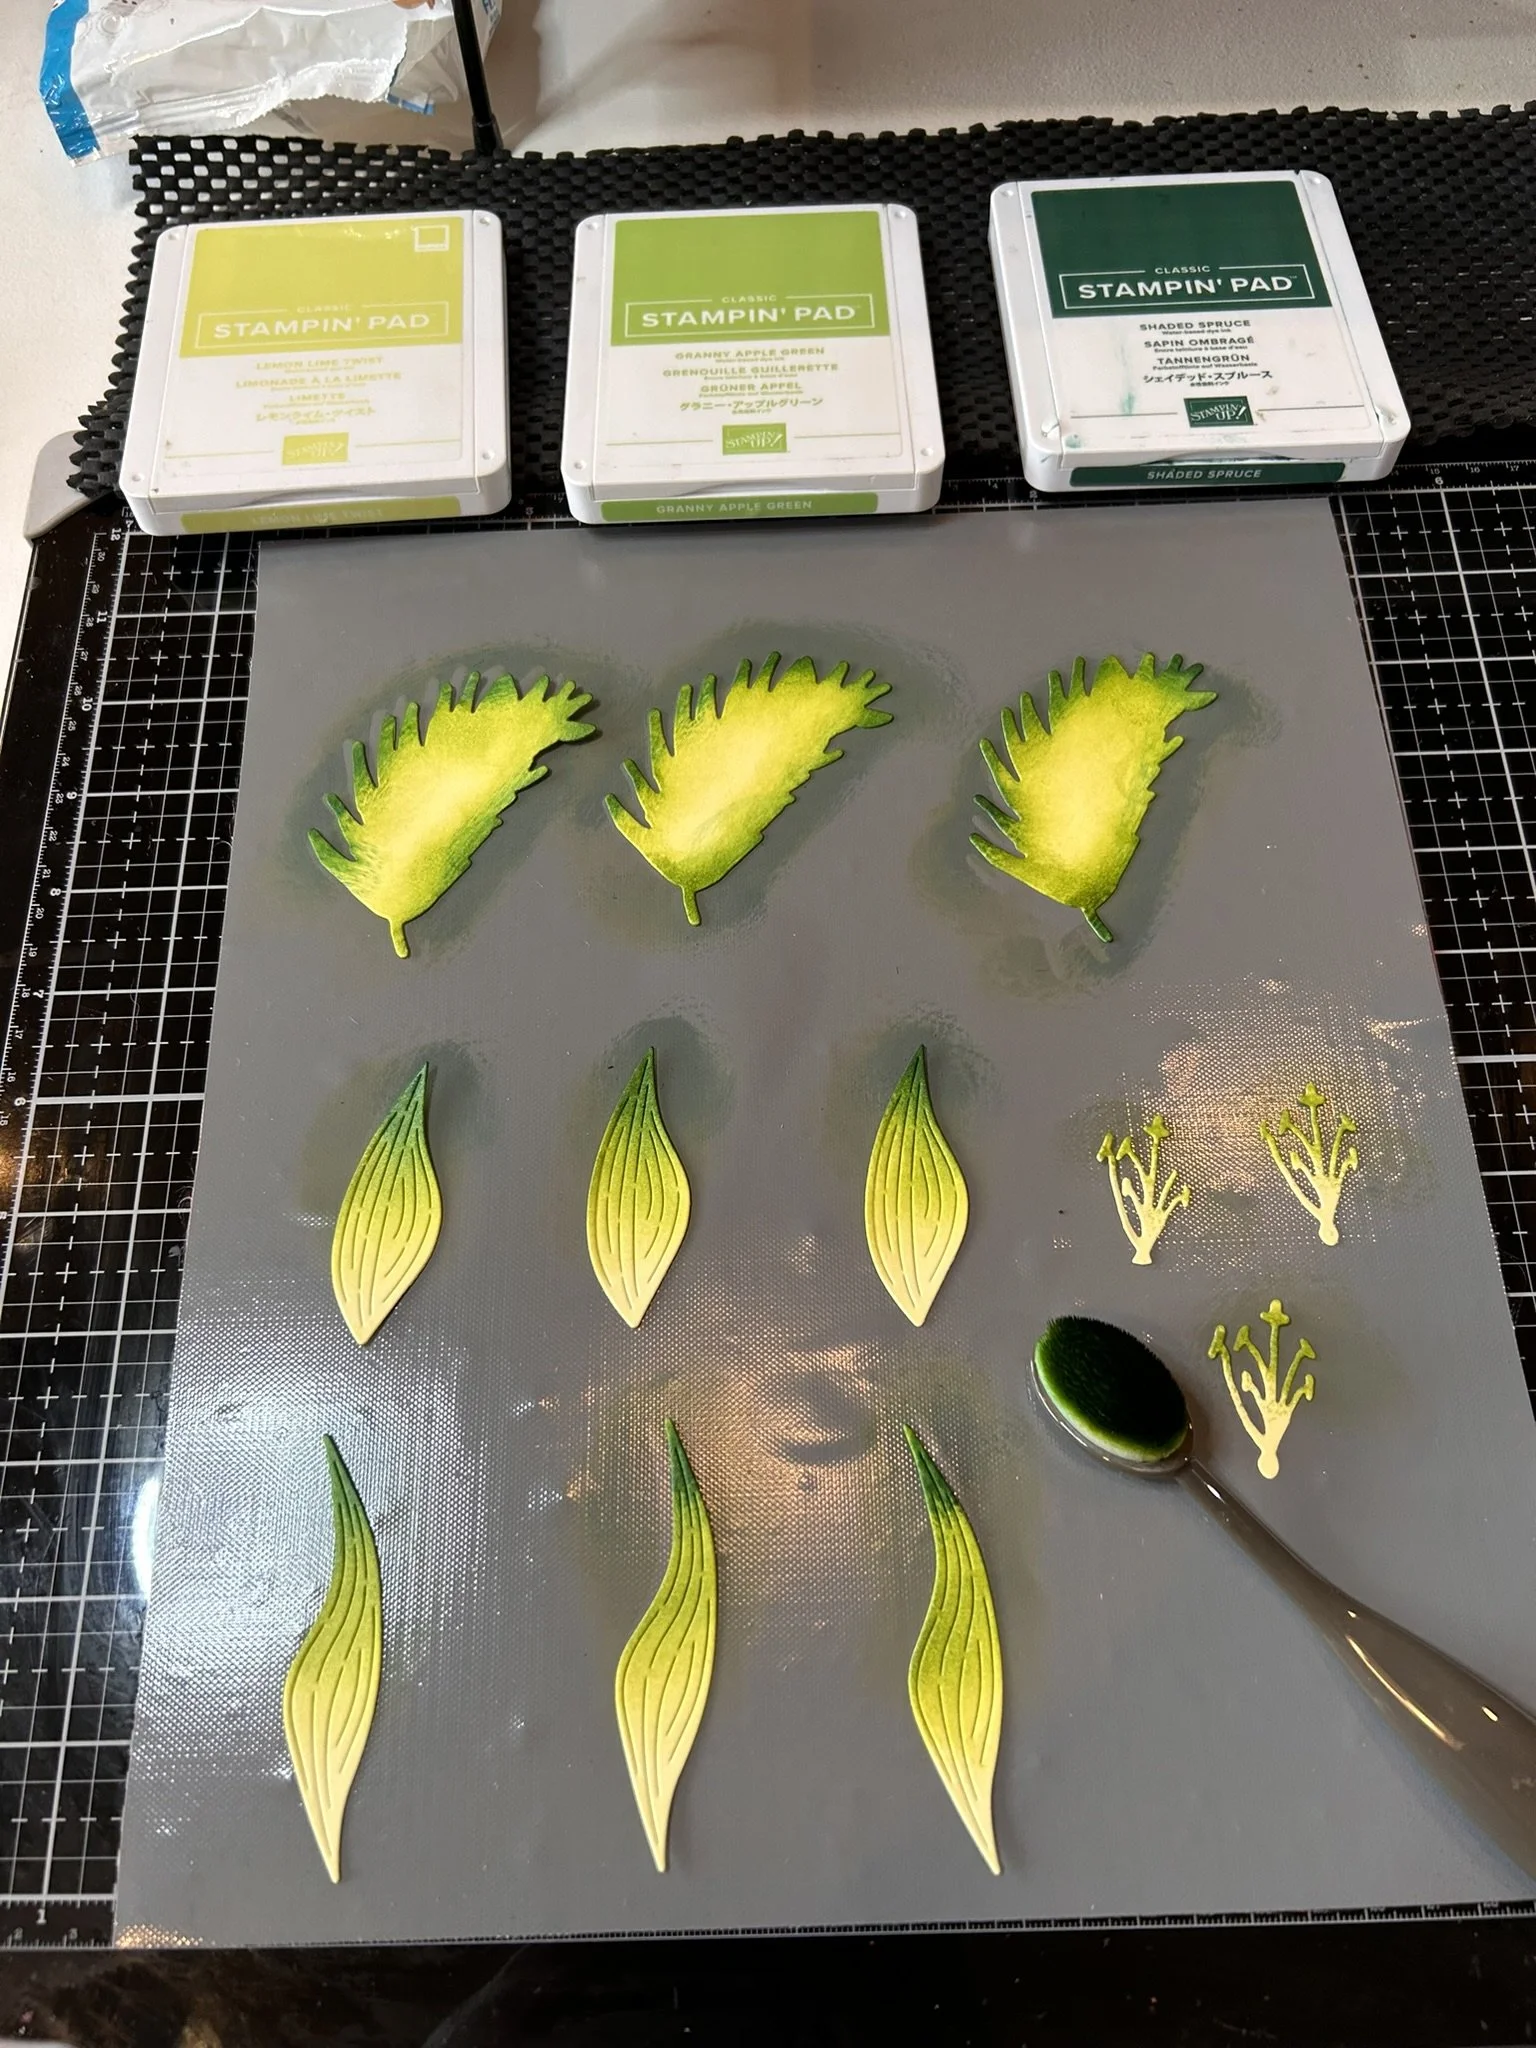
For your lemon lolly die cuts, using your small blending brushes, brush on Lemon Lime Twist ink on two thirds of the piece, pretty much almost all over, just leave a little of the lemon lolly color showing through.
Then around the edges blend Granny Apple Green, about a third of the way in.
Lastly take your shaded spruce and just ink blend the very edges for a nice bright contrast.
On your white leaves repeat the above steps except go all over the leaves with the lemon lime twist first.
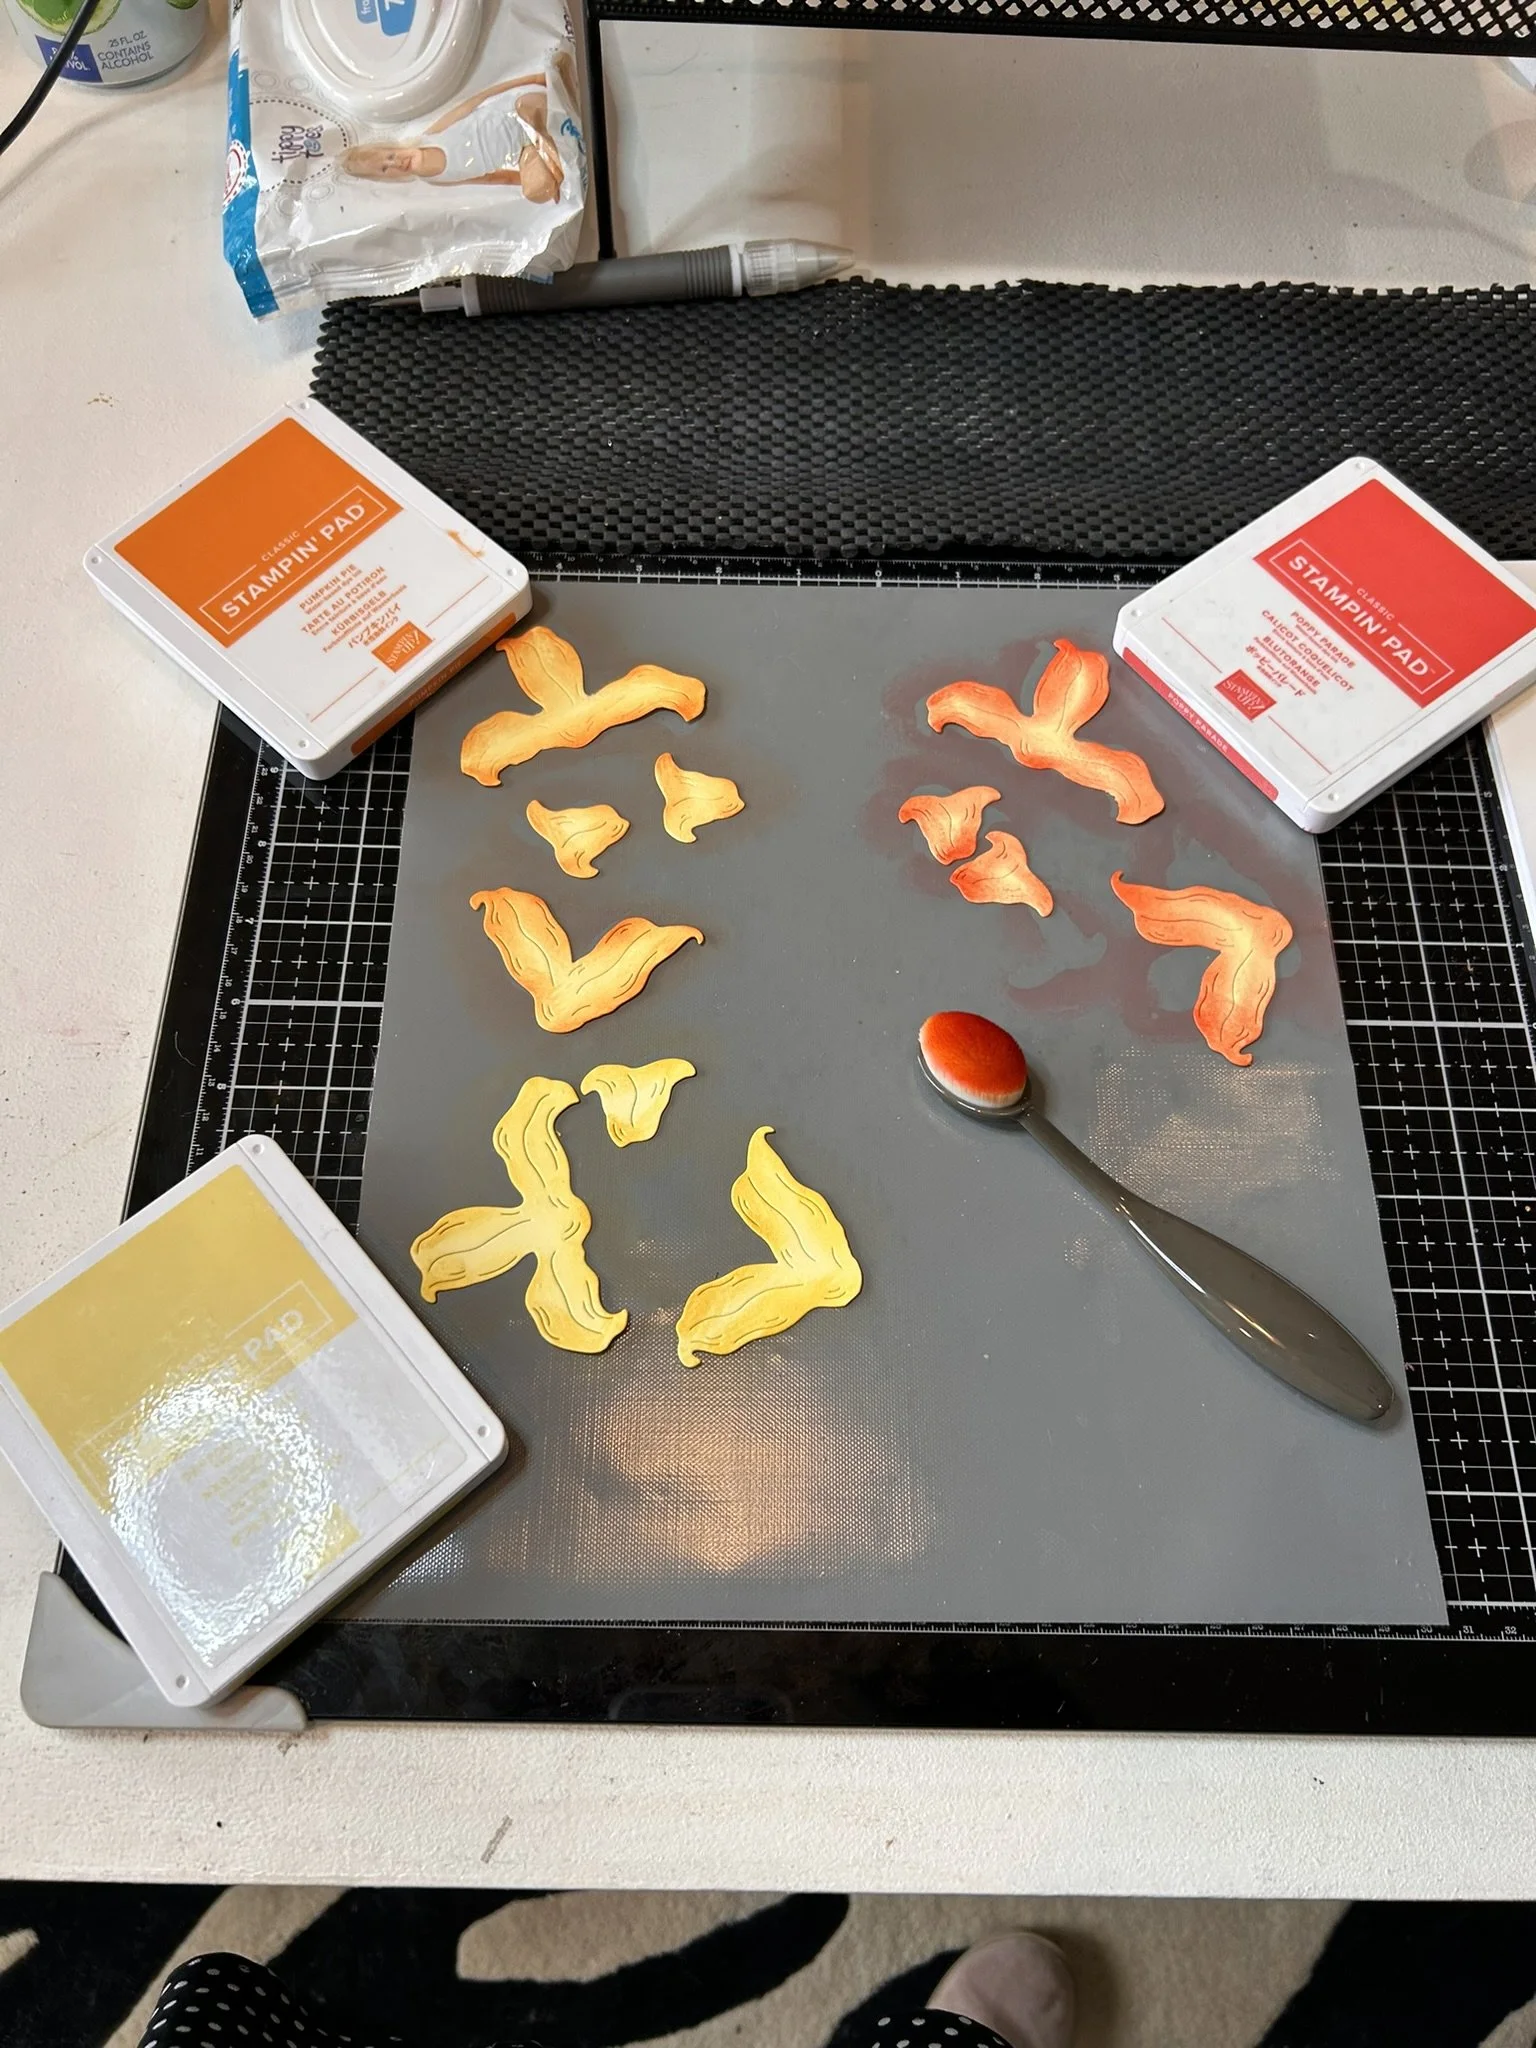
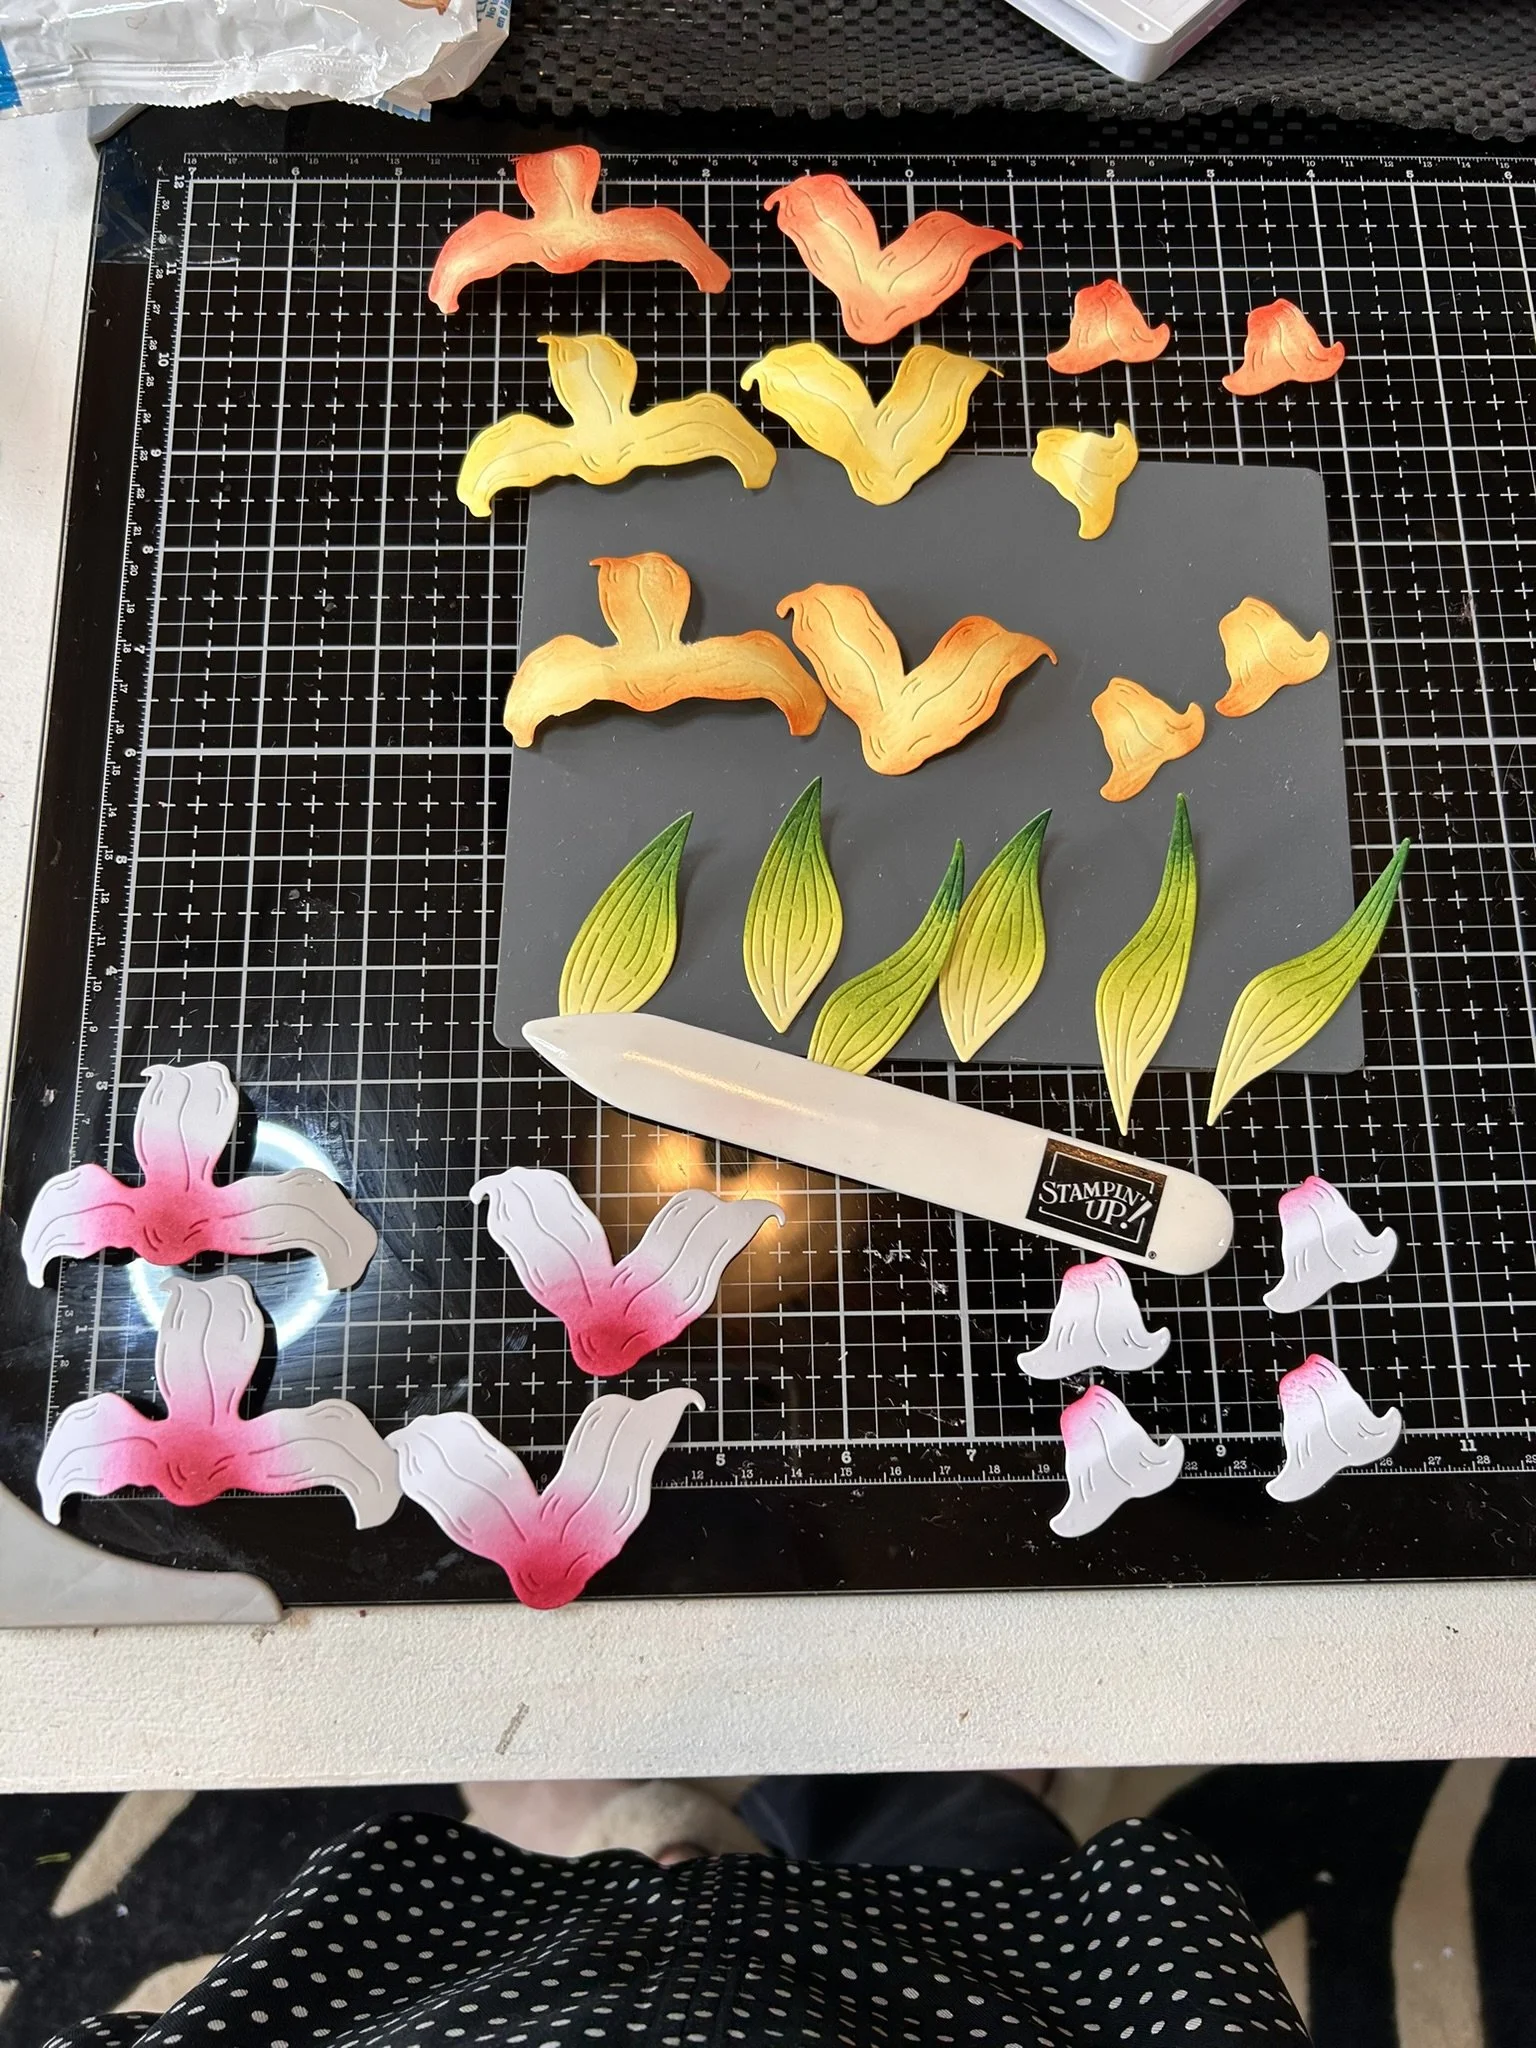
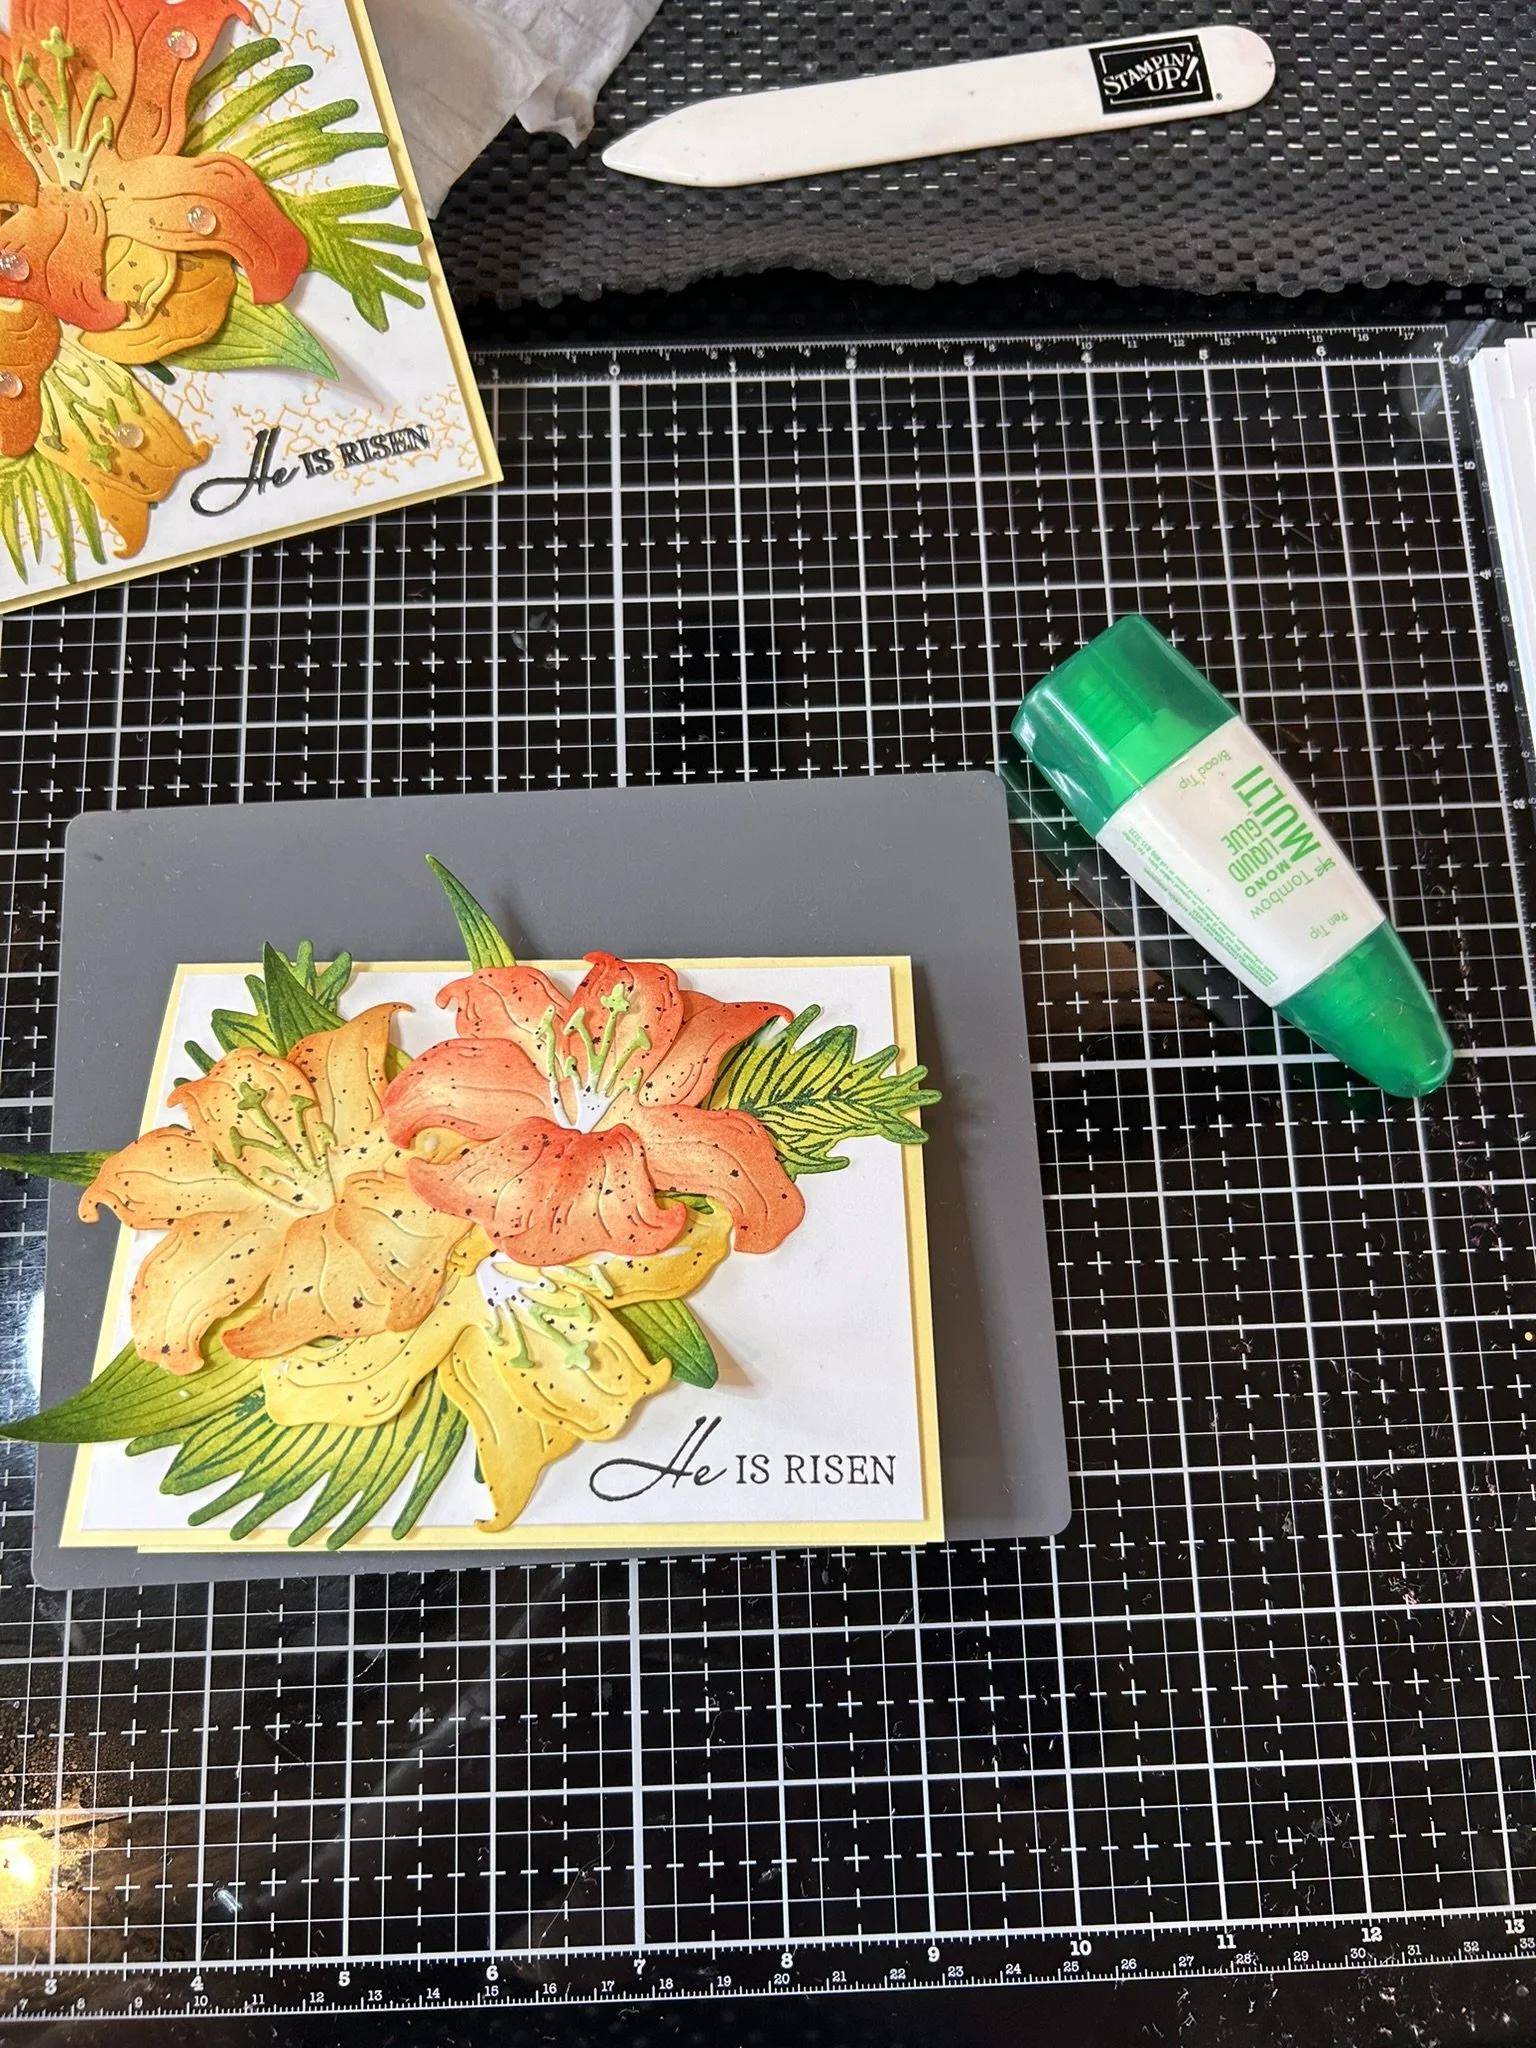
For your lemon lolly flower pieces, on one set, ink the edges using Daffodil Delight, on the second set ink the edges using pumpkin pie and then lastly ink the edges on the last set using poppy parade.
For your white flower pieces, ink just the center of the pieces using Melon Mambo.
Set aside all of your pieces to dry for at least 30 minutes, or use your heat tool to speed up the process.
Curl your flower and leaf pieces to give a more realistic look (optional)
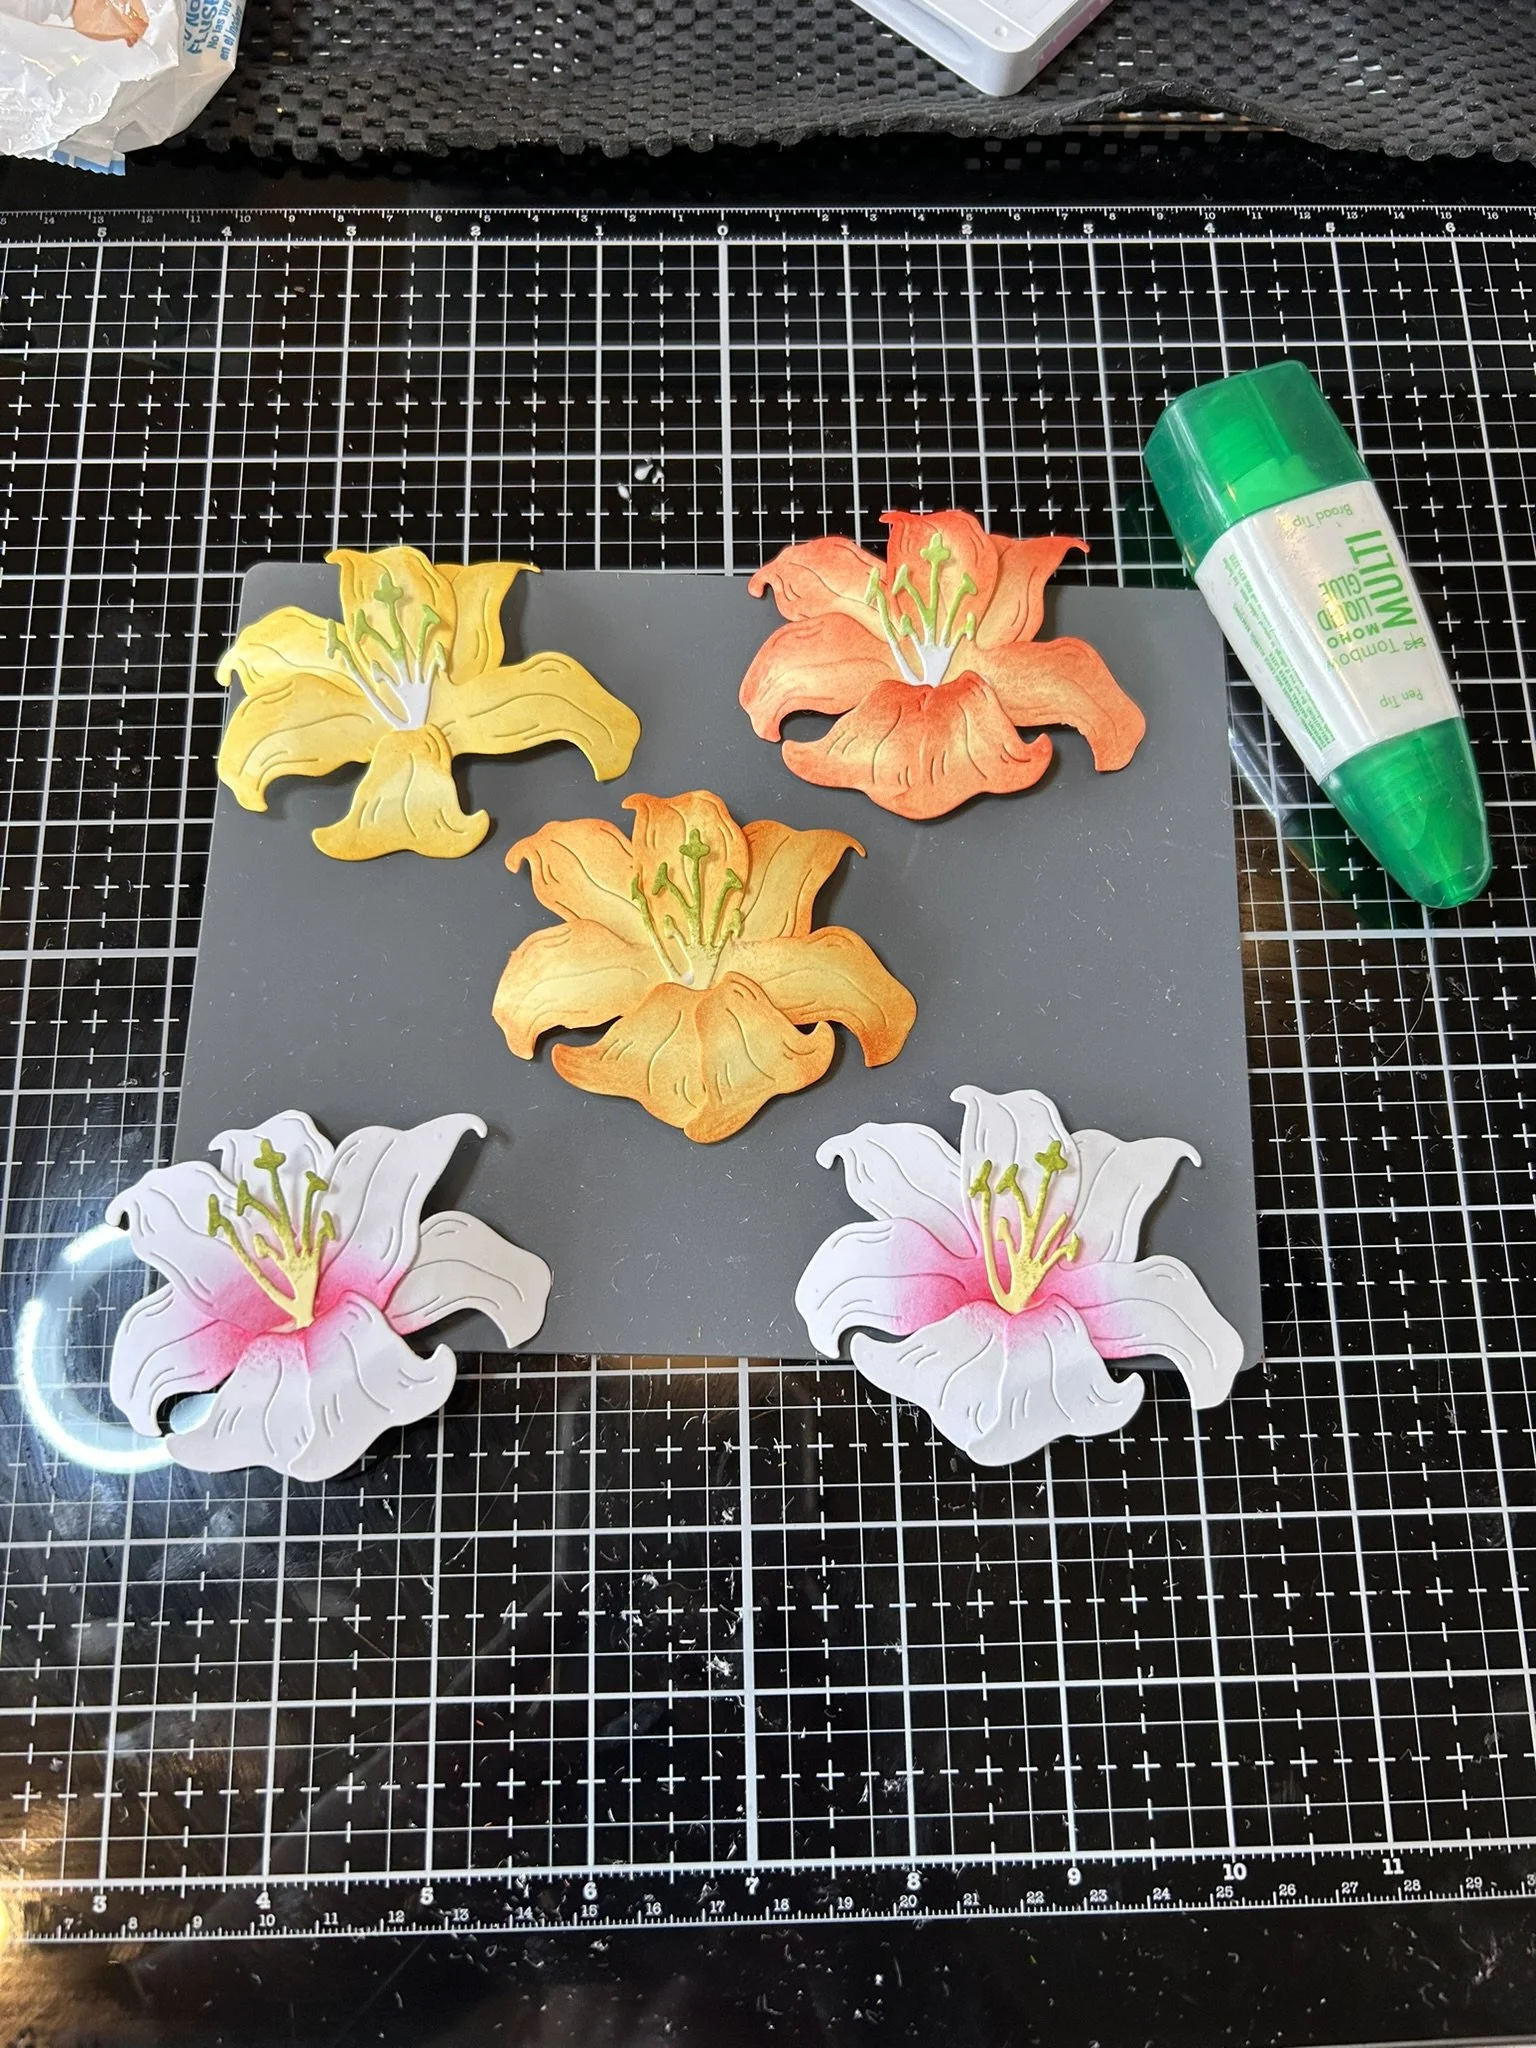
Glue your flower pieces together – highly recommend watching my video, set aside to dry for about 10 minutes.
On your white layers that have the sentiments – on one stamp the pattern from the Easter Lilies stamp set in Daffodil delight randomly for a interesting background (optional)
On the other white layer, brush lightly in the center using Bubble Bath ink, brush roughly a two inch circleish shape (optional).
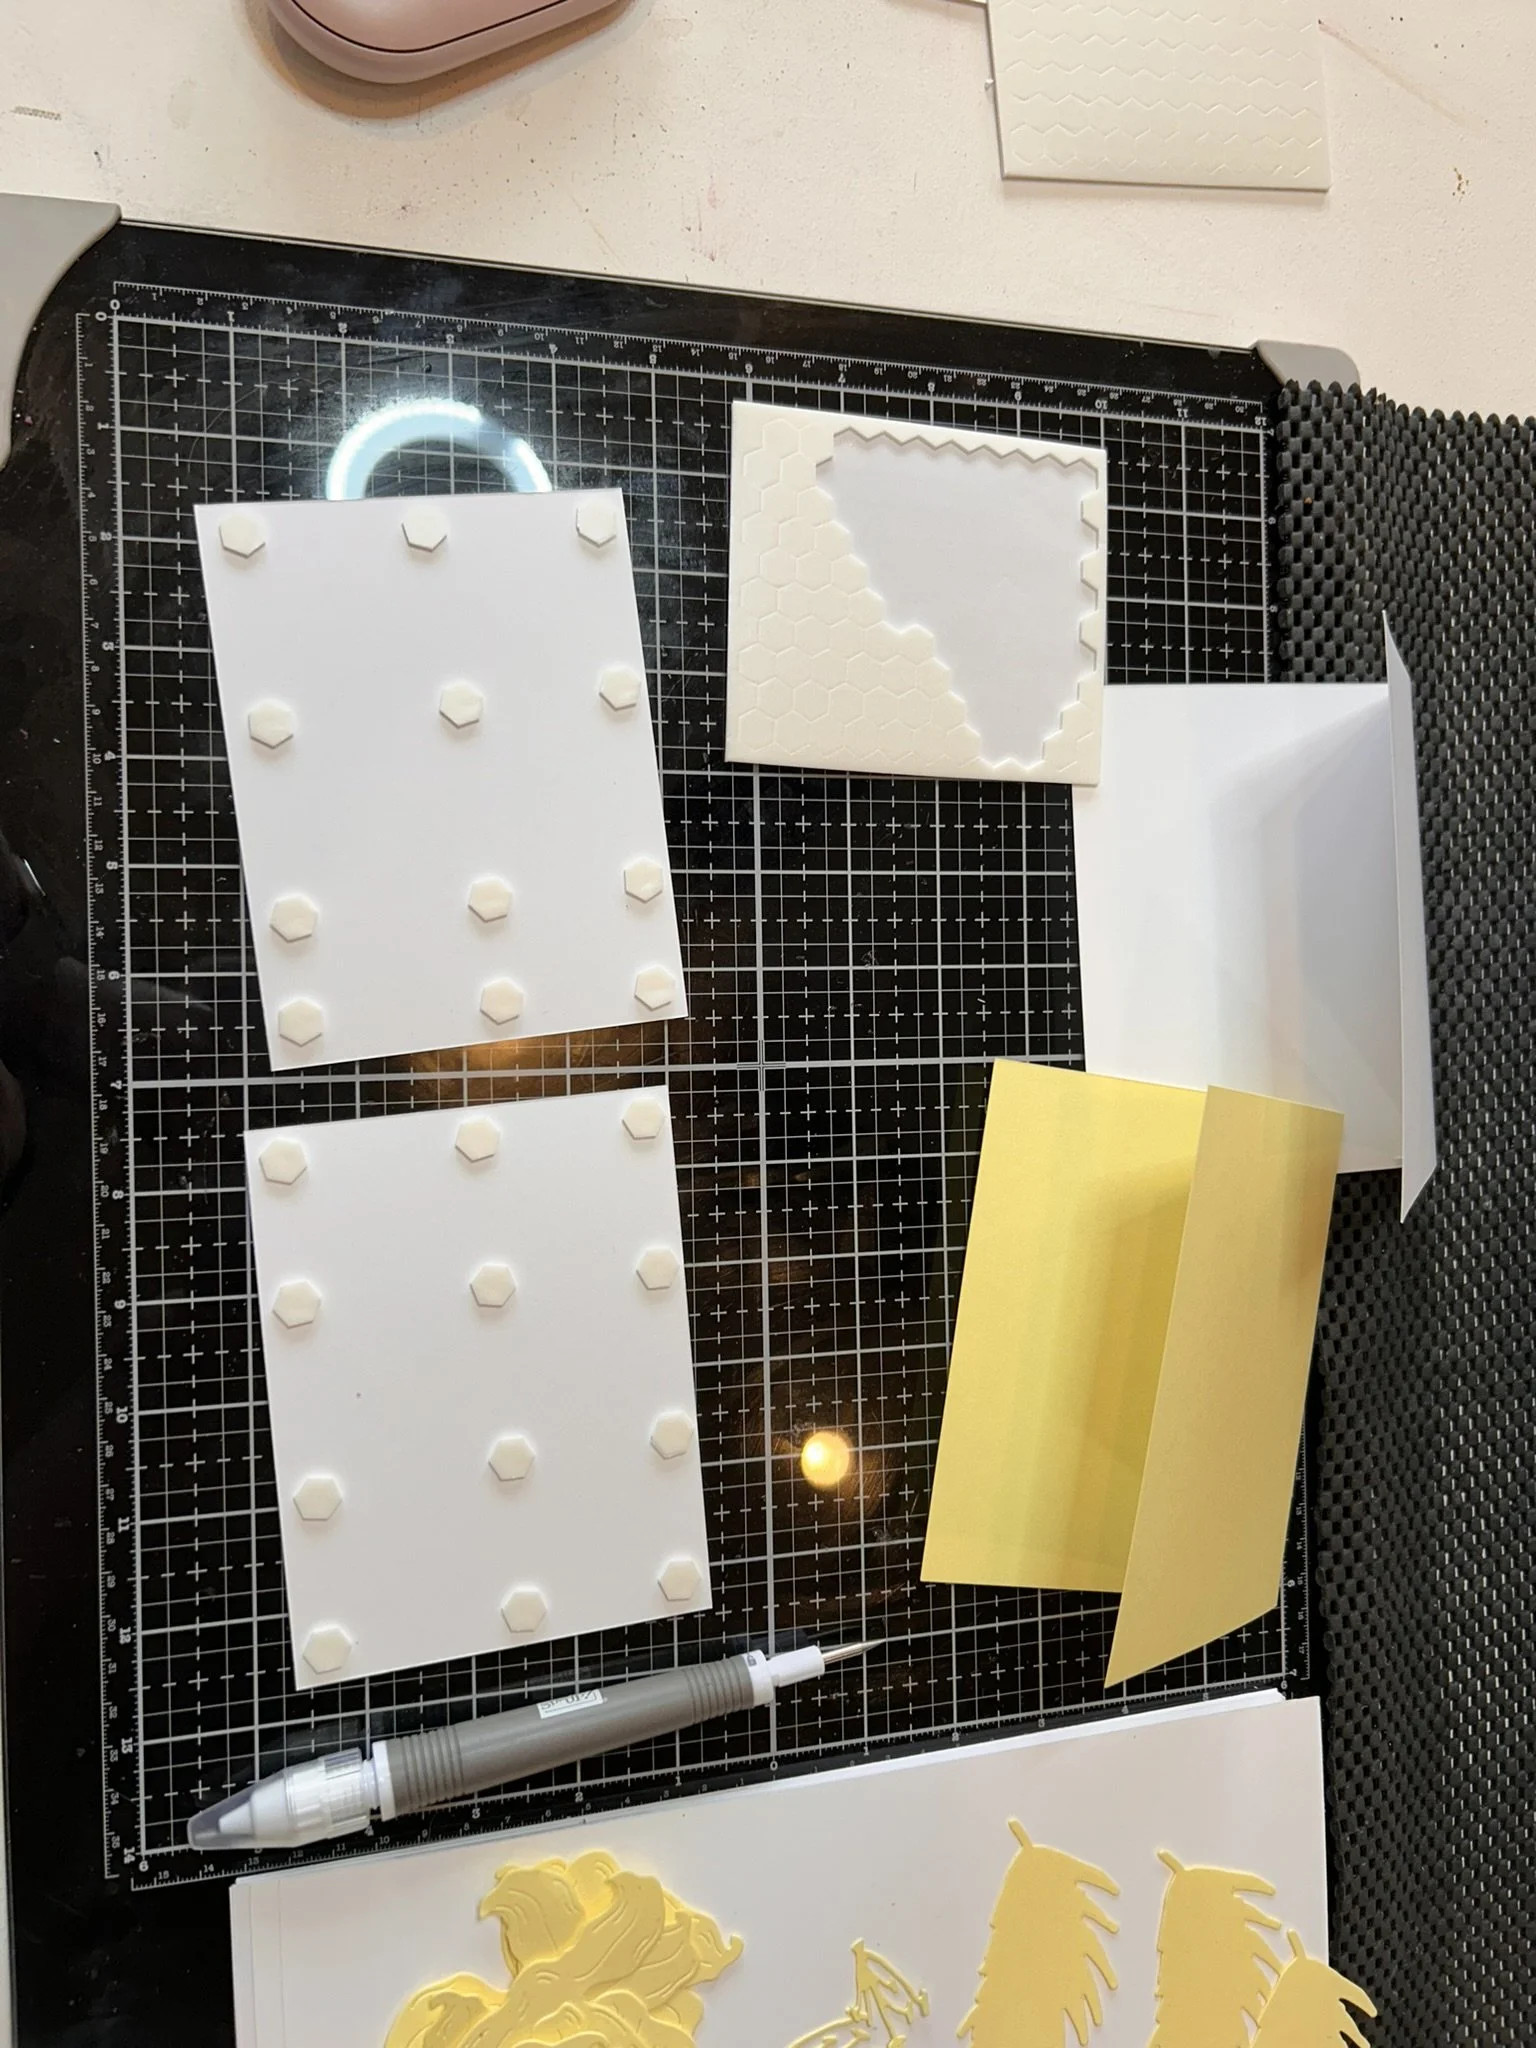
Adhere both white layers to your cardstock bases using foam tape or dimensionals (optional) or just use stamp and seal or mono glue.
Glue your leaves down first, and then glue your flowers on top of the leaves (see pictures and/or video).
Next, and I think this is fun but totally optional, take some early espresso ink and little bit of water, using a fan brush do a little splatter on the card to give it that lily realistic look. On the pink card I used Blackberry bliss ink for my splatter.
Finally stamp your inside sentiment on the other white layer cardstock pieces and glue those inside your cards.
Optional, I also stamped the image of the lily on the corner of my basic white envelopes and on the corner in the inside the card piece.

