Take to the Sky Suite - Sneak Peek
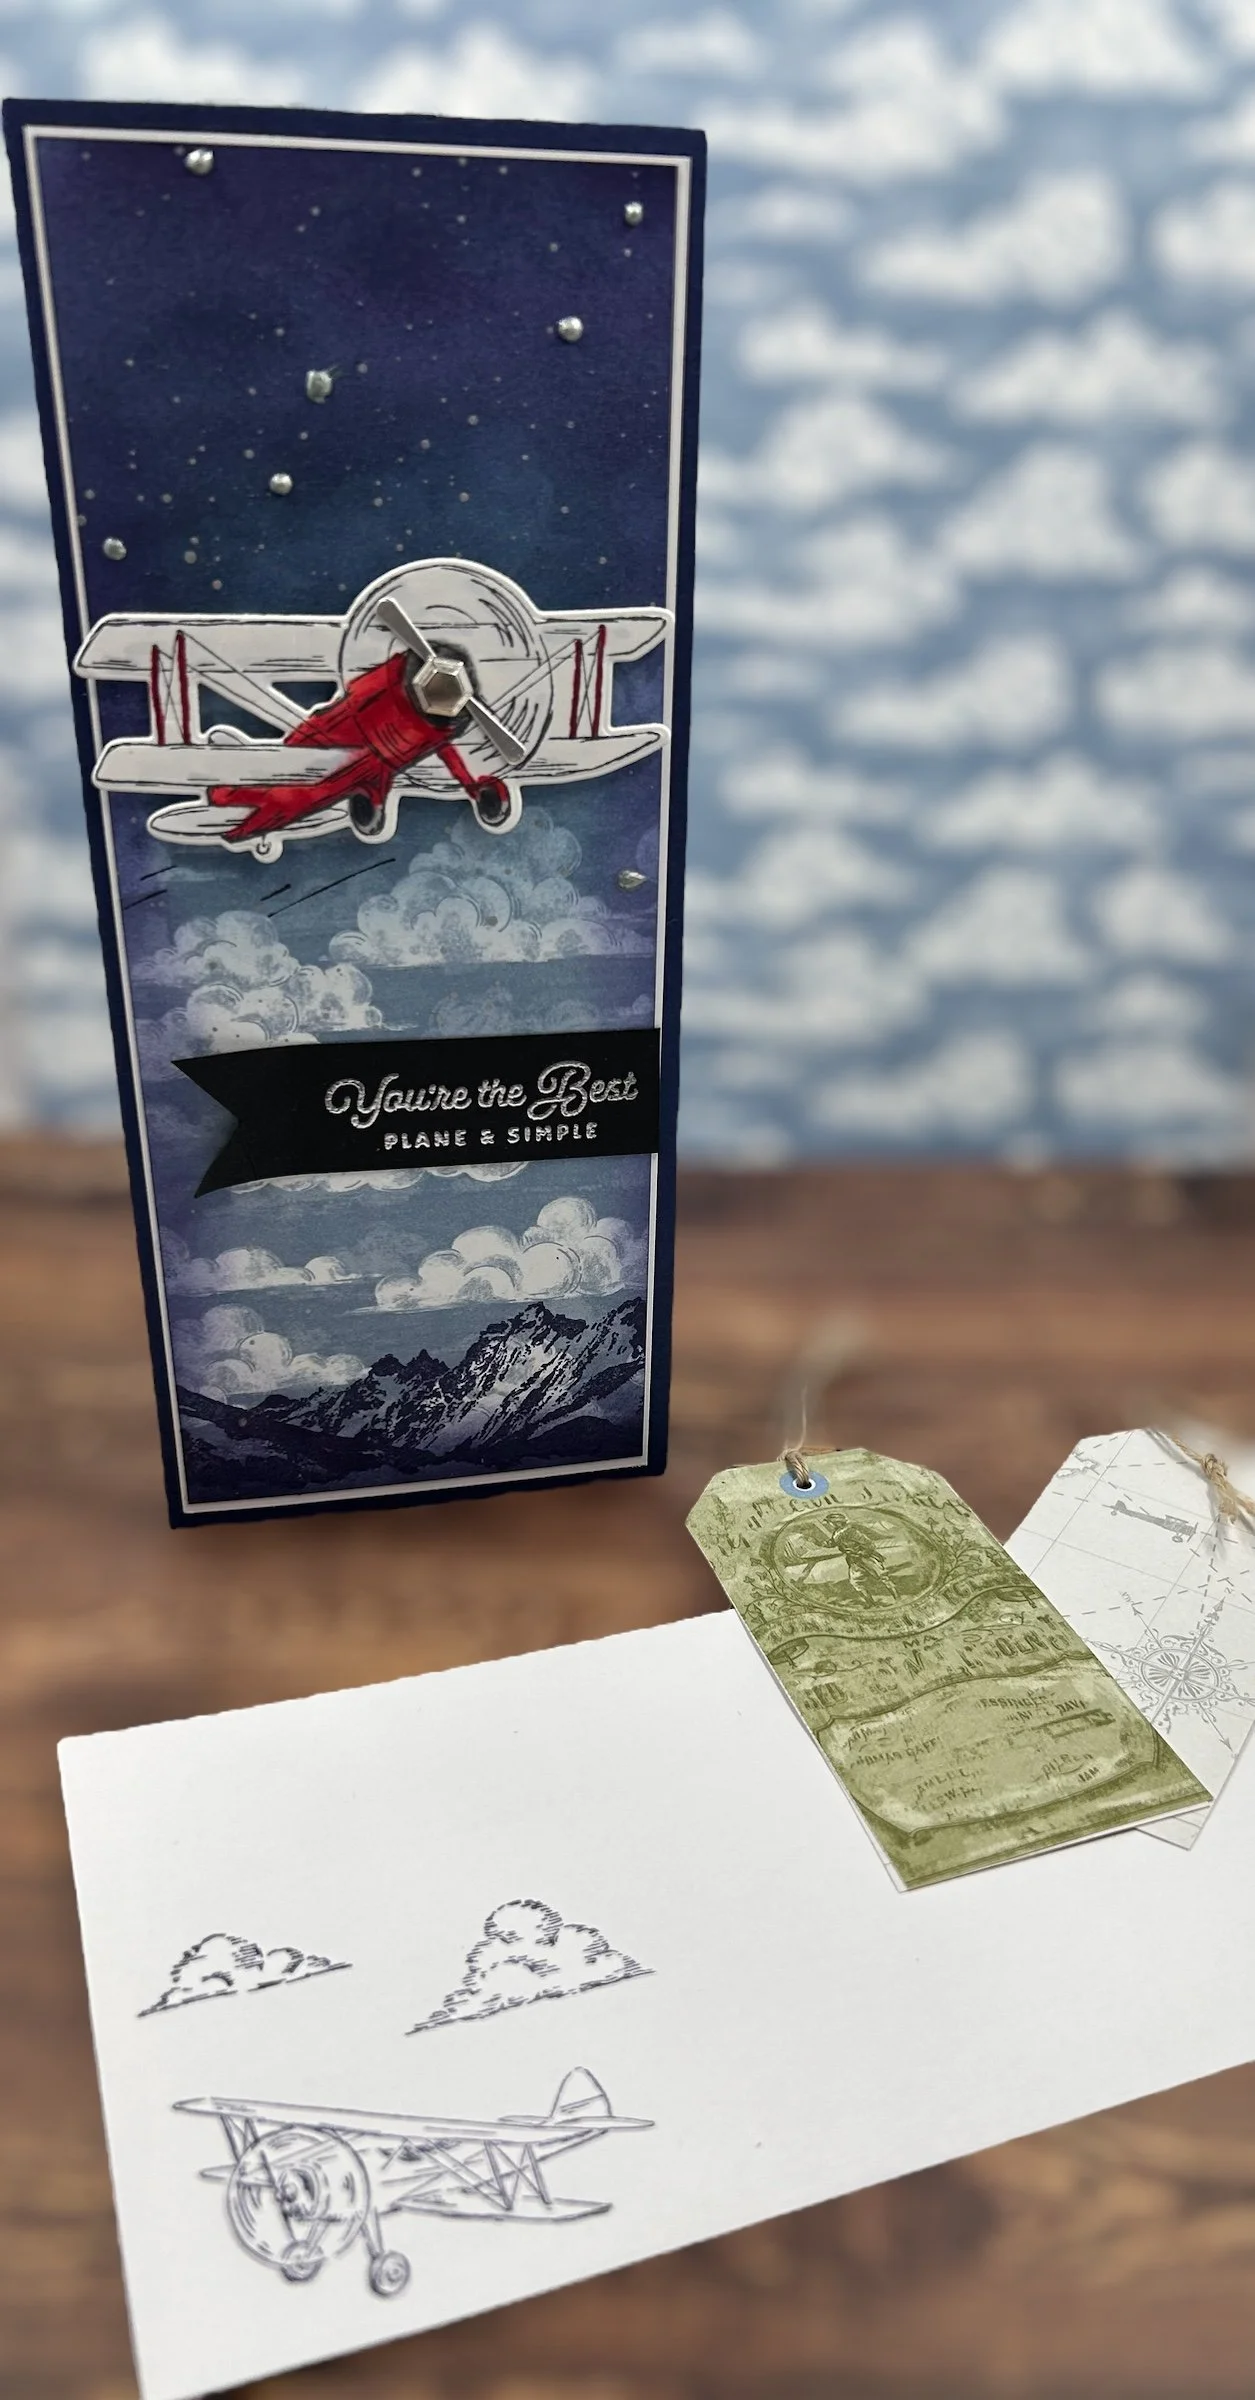
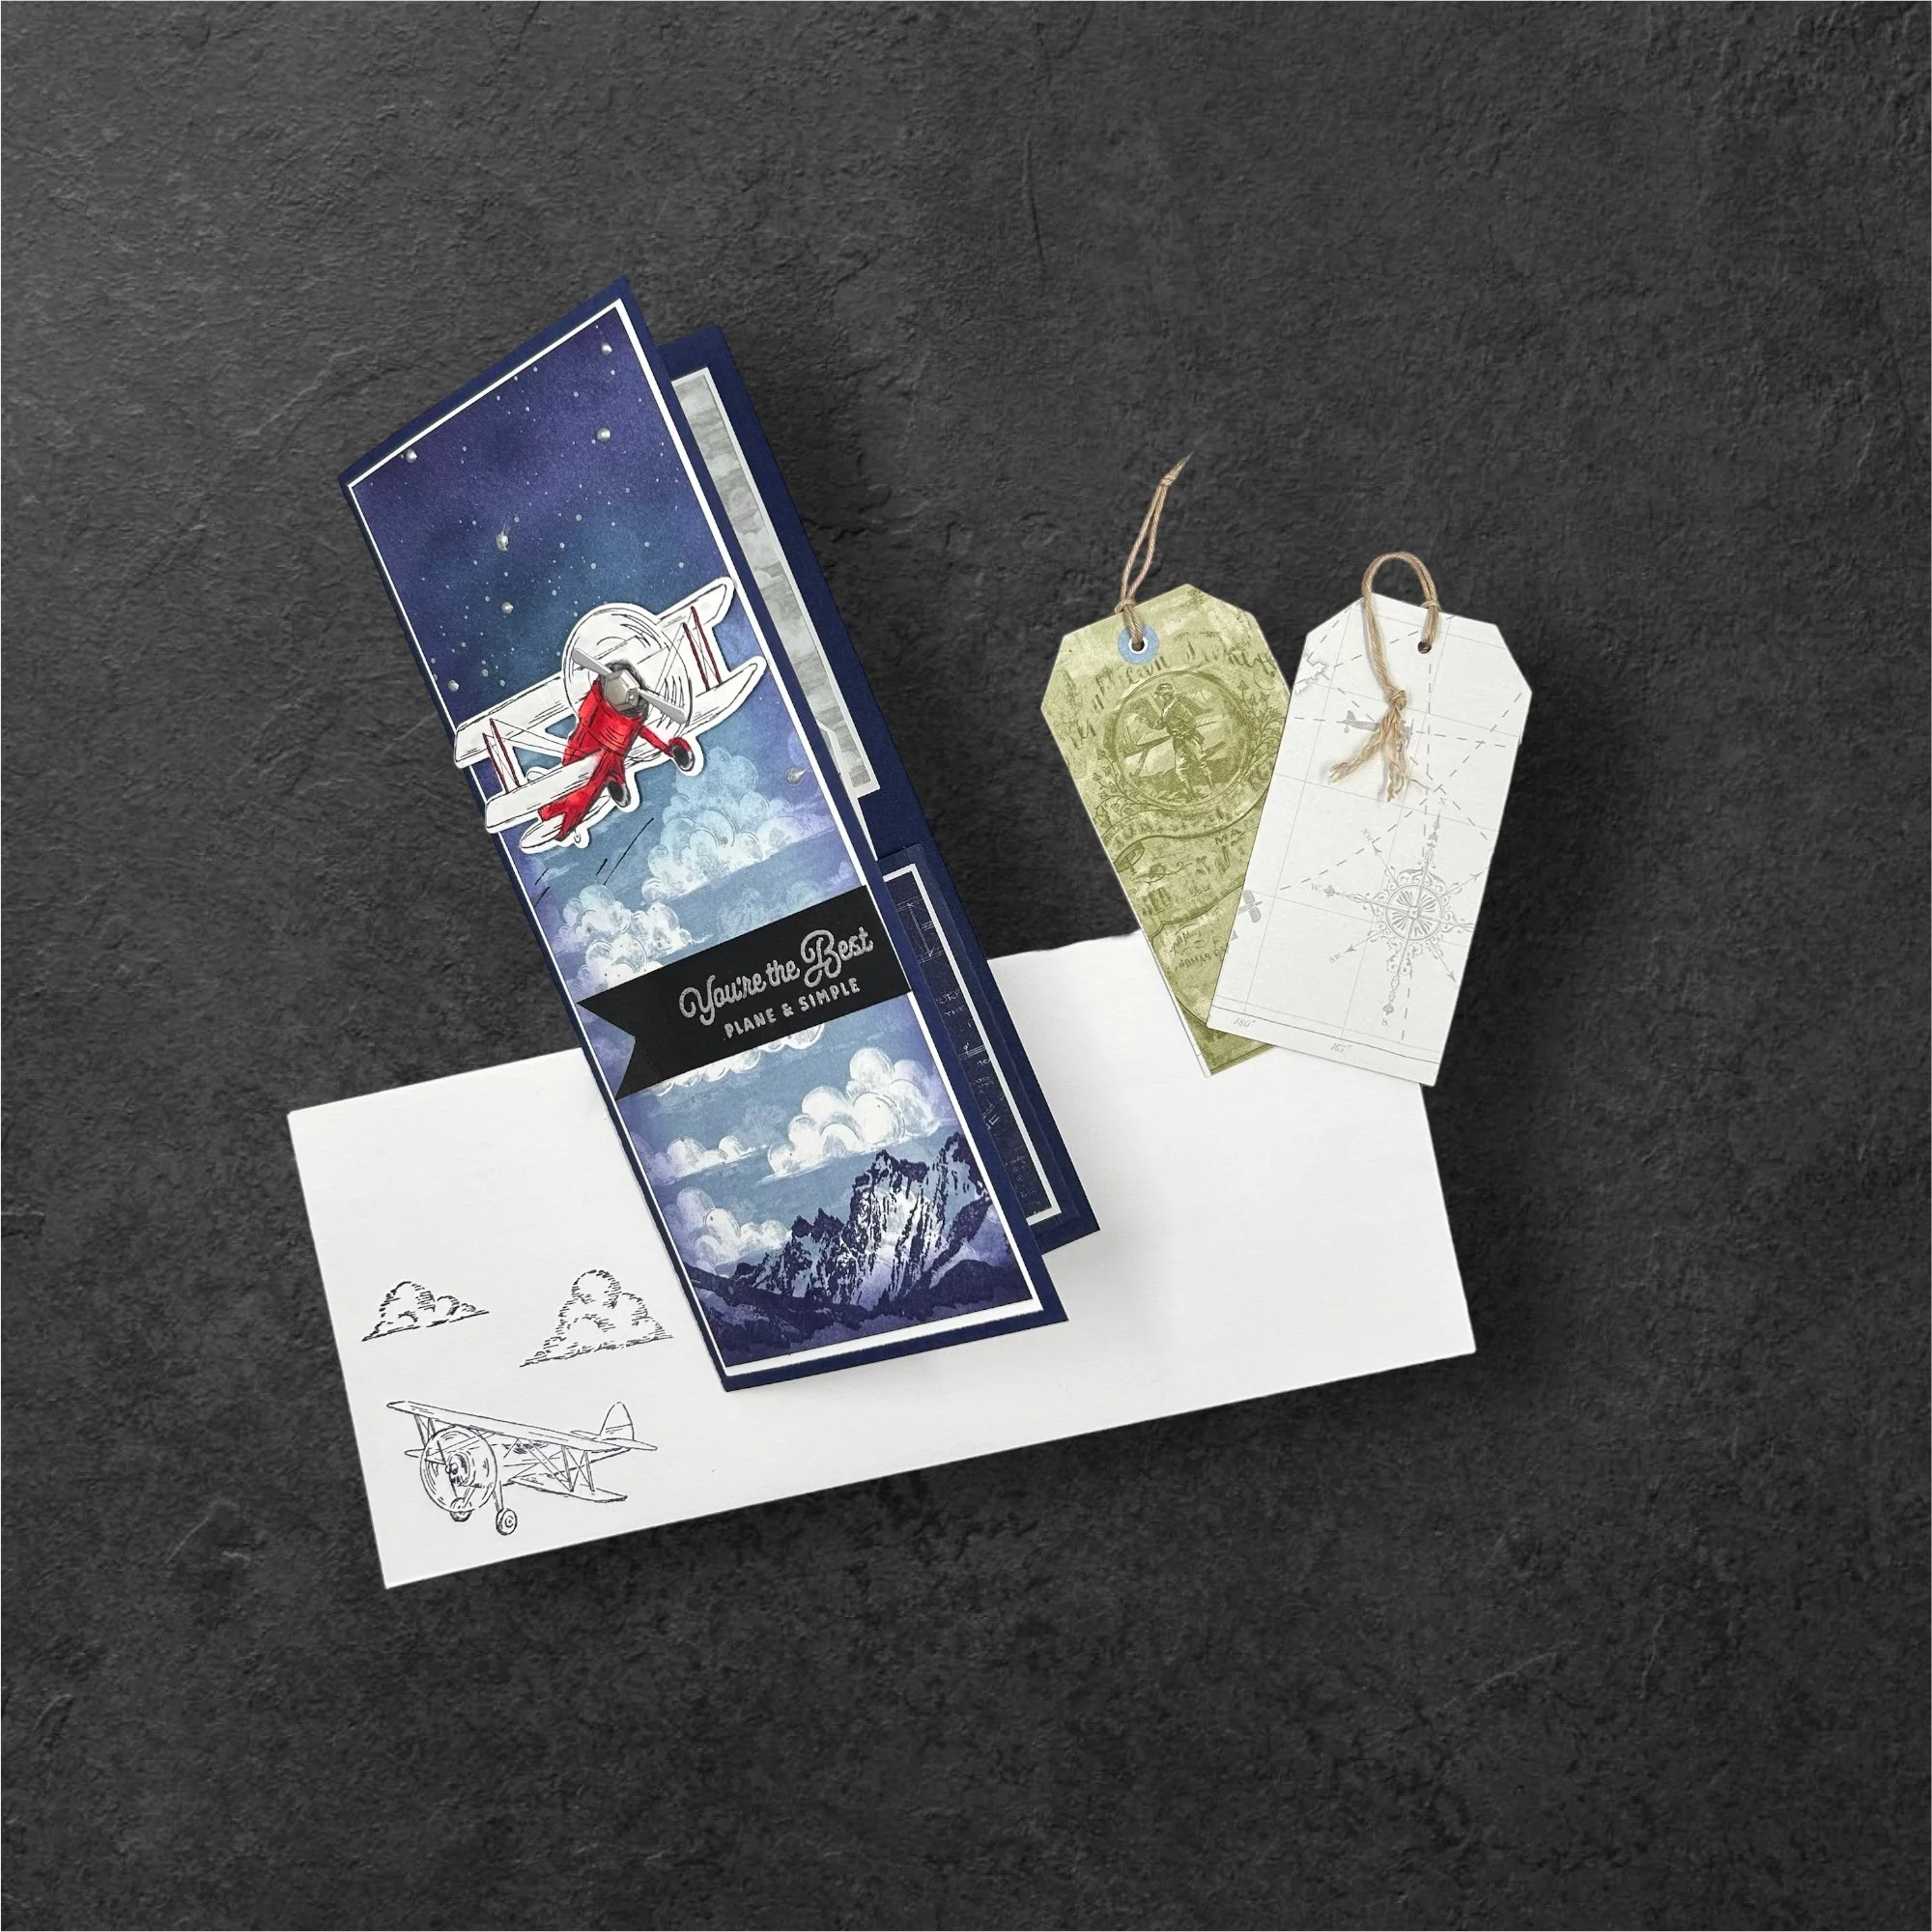
Hey there my crafty friends! I have a very exciting sneak peek for you here today, from Stampin’ Up’s new annual 2024-2025 Catalog! I think this one has to be my favorite from the new catalog actually - it’s called the Take to the Sky suite collection. As soon as I had seen it at on Onstage 2024 the other week I knew I had to have it, and already had the inspiration to make a birthday card for my husband. This stamp and die set, which is called Adventurous Sky, including the designer series paper which is called Take to the Sky, all works beautifully for a more masculine type card.
I will be publishing a YouTube video very soon, within the next day or two, to show you how I exactly made this very handsome card. You will be able to purchase this suite, bundle and/or DSP as a demonstrator on April 2nd or as customer you can purchase on May 1st. Because the catalog has not been officially published yet for customers, I am unable to give you links at this time to take a look at the products directly online. As soon as I can do so I will update this blog post with the links.
Items used:
Cardstock Colors: Night of Navy, Basic White and Basic Black
Ink Pad Colors: Night of Navy, Misty Moonlight, Boho Blue, Memento Tuxedo Black
Versamark Clear embossing ink
Silver embossing powder
Crumb cake thread or brown suede ribbon
In The Grove stamp set
Take to the Sky Suite:
Adventurous Sky Stamp Set
Adventurous Sky Dies
Take to the Sky Designer Series Paper
Industrial Trinkets embellishments
Quick Instructions:
Take a piece of Night of navy cardstock, and make your slimline card base, cut on the long side down to 7 inches, so your piece now should be 8 1/2 x 7 inches. Score and fold your 7 inch side at 3 1/2 inches, using a bone folder burnish.
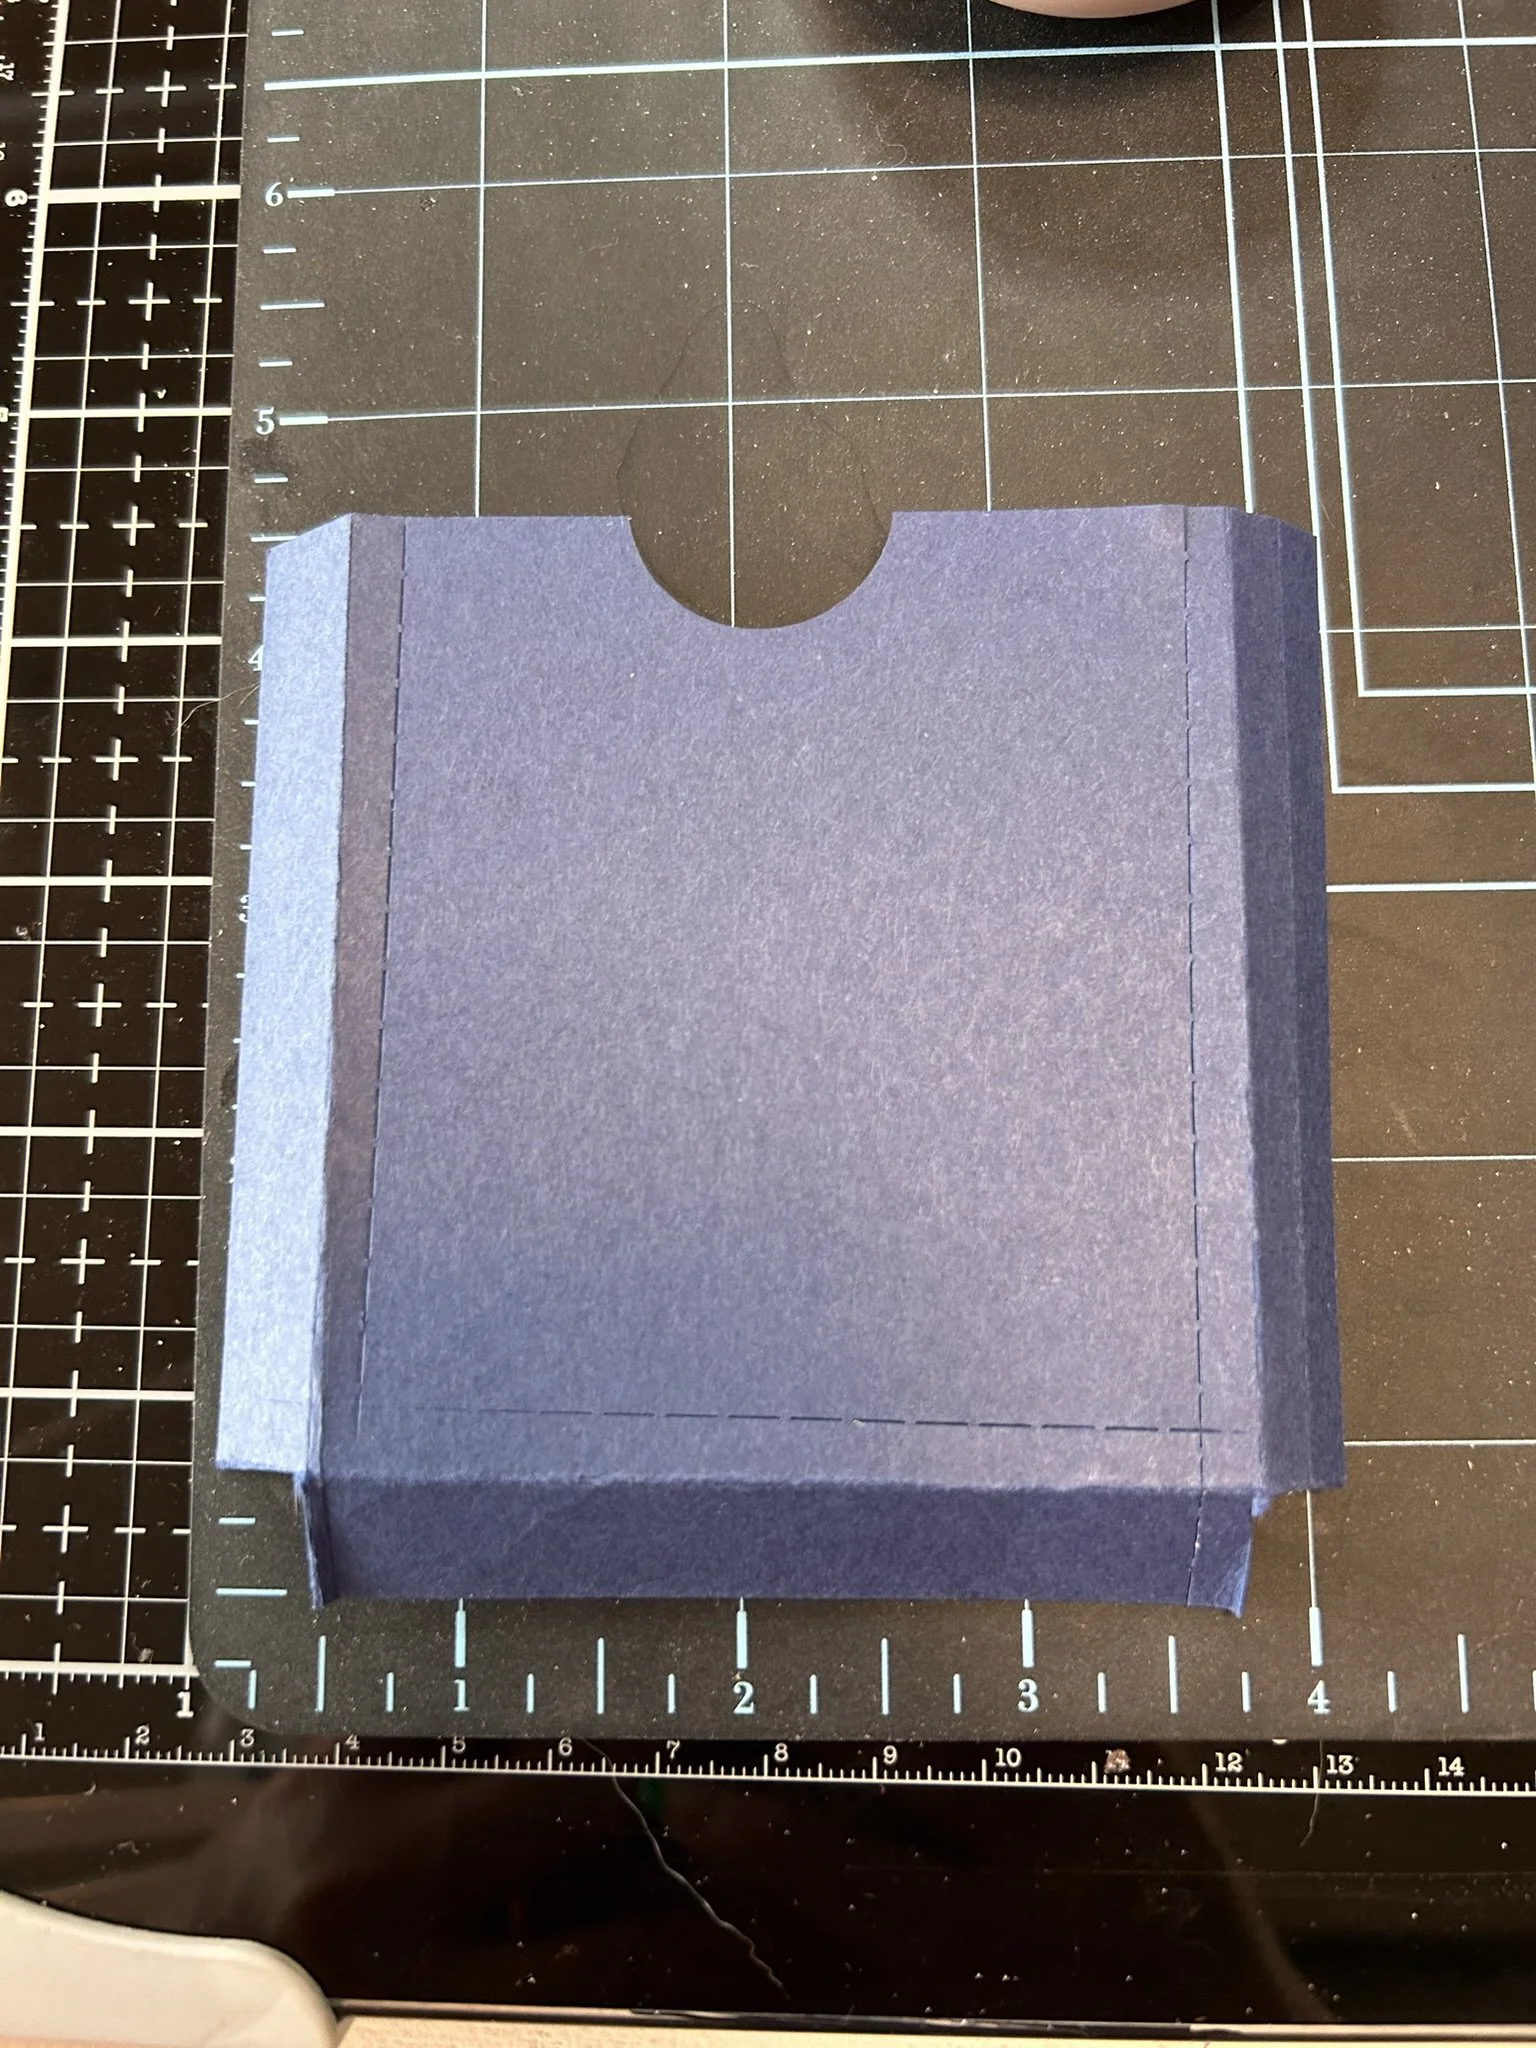
2. Cut a small piece of Night of Navy to 4 1/4 x 4 inches, this will be for your inside pocket. Score 3 sides at 1/2 inch. Using 1 inch circle punch, punch out a half circle on the one side that is not scored, see picture below.
3. Cut out the following sized pieces of basic white cardstock:
Slimline base layer - 8 1/4 x 3 1/4”
Inside card for pouch - 2 3/4 x 3 1/4 “
Inside card for sentiment layer -
4. Cut out the following sized pieces of Take to the Sky DSP:
Slimline layer - 8 1/8 x 3 1/8”
Inside card for pouch - 2 3/4 x 3 1/4, cut an 1/8 off on two sides
Inside card for sentiment layer -
The DSP has two sheets that have tags already set for you to cut out, cut out at least two of them, and punch out 1/8” circle for ribbon or thread
5. Using a large ink blending brush, starting from just above the middle top of the largest piece of DSP, brush on some Boho Blue ink, then blend in some Misty Moonlight and then at the very top some night of Navy, and then I also brushed a bit of night of navy on the sides.
6. Using the new In the Grove stamp set, stamp the mountain range in night of navy at the bottom of the DSP piece.
7. Using the Adventurous Sky stamp set, stamp the larger airplane stamp using Memento Tuxedo black in on small piece of basic white card stock. Color airplane with Dark Pink Flamingo, Light Real Red and Dark Real red, stampin blends markers. Then color the wheels with dark smokey slate and light basic black.
8. Die cut out the plane using the Adventurous Sky die set.
9. Stamp a sentiment on small piece basic black cardstock, using versamark embossing clear ink, silver embossing powder, and heat set. Cut down piece to 1 “ x 3”. Cut out fishtail.
10. On a white slimline envelope, you can get them on amazon or make one yourself. Stamp the medium sized plane and smaller clouds using Night of Navy ink on the envelope.
11. Glue on pieces of white cardstock, larger one on the front, and smaller two inside the card, one for the sentiment and the other for the pouch.
12. Stamp Happy Birthday message using Misty Moonlight to inside DSP piece, then glue on pieces of cut DSP.
13. Adhere plane to front of the card just above the middle using mini dimensionals
14. Glue on black embossed sentiment to the front below the airplane a couple of inches down.


